One of the easiest ways to improve your backpacking experience is to build a camp cooking setup that is lightweight, reliable, and simple to use. After all, few things are more satisfying than a hot meal and a warm drink after a long day on the trail. Since moving to Canada, I’ve carefully chosen and tested my camp cooking equipment to strike a balance between weight, performance, and practicality.
This camp cooking equipment packing list was brilliant for Whistler backpacking, camping in Jasper and Yosemite, plus it would have been perfect for Patagonia trekking! My cooking system follows the same simple principles: keep it lightweight, minimise parts, and carry only what I’ll actually use. On top of this, living in bear country adds storage requirements to consider.
This guide breaks down my complete backpacking cooking system, including my stove, cookware, fuel setup, utensils, and the small items that often get overlooked. If you’re building your own outdoor cooking kit or searching for the lightest backpacking stove for your next adventure, this packing list will show exactly what I carry and why.
Field Note: This guide contains affiliate links. If you purchase gear through these links, I may earn a small commission at no extra cost to you. I only recommend equipment I have personally mountain-tested and trust.

How I chose my Camp Cooking Equipment
I grew up camping using a Trangia-style cooker using ethanol on Scout camps, which was simple but not exactly compact or efficient. Nowadays, if you’re at a campsite, you’ll see a variety of different camp cooking equipment from full-blown stoves and barbecues down to ultralight stoves. Fundamentally, to cook whilst camping, you’ll need a stove, fuel and pots/bowls to prep and eat from. As my approach is focused towards backpacking and trekking, where you’ll carry the camp cooking equipment alongside tents, sleeping and hiking gear, weight and packability become very important.
In comparison, if you’re car or campervan camping, then you can easily have multiple stoves or even cook on a fire pit. However, this is usually restricted when backcountry camping due to risk of wildfires or attracting wildlife. Another aspect to consider, especially in Canada and America, is safe food storage using bear vaults and lockers when camping in the wild. Any backpacking or trekking camp cooking equipment list should focus on versatile and multi-purpose items to avoid overpacking.
When backpacking, there is a balance between weight and cost, as the lighter the stove and parts, the more expensive they generally are. Fuel efficiency is something to balance, as it saves carrying heavier gas canisters, and of course reliability is very important to avoid not eating! Ease of use is a final consideration for any camp cooking equipment, as complex cooking systems, when tired, can make you feel stressed at camp. Unlike car camping, the goal of our backpacking camp cooking equipment list is simplicity and refuelling instead of gourmet meals with high nutrition and minimal cleanup.
Building Your Complete Backpacking Gear Setup?
A lightweight stove is only one piece of the puzzle. From shelters and sleep systems to backpacks, clothing, navigation and safety equipment, this complete backpacking packing list covers every item I carry on multi-day hiking and trekking adventures around the world.
Read the Backpacking Packing List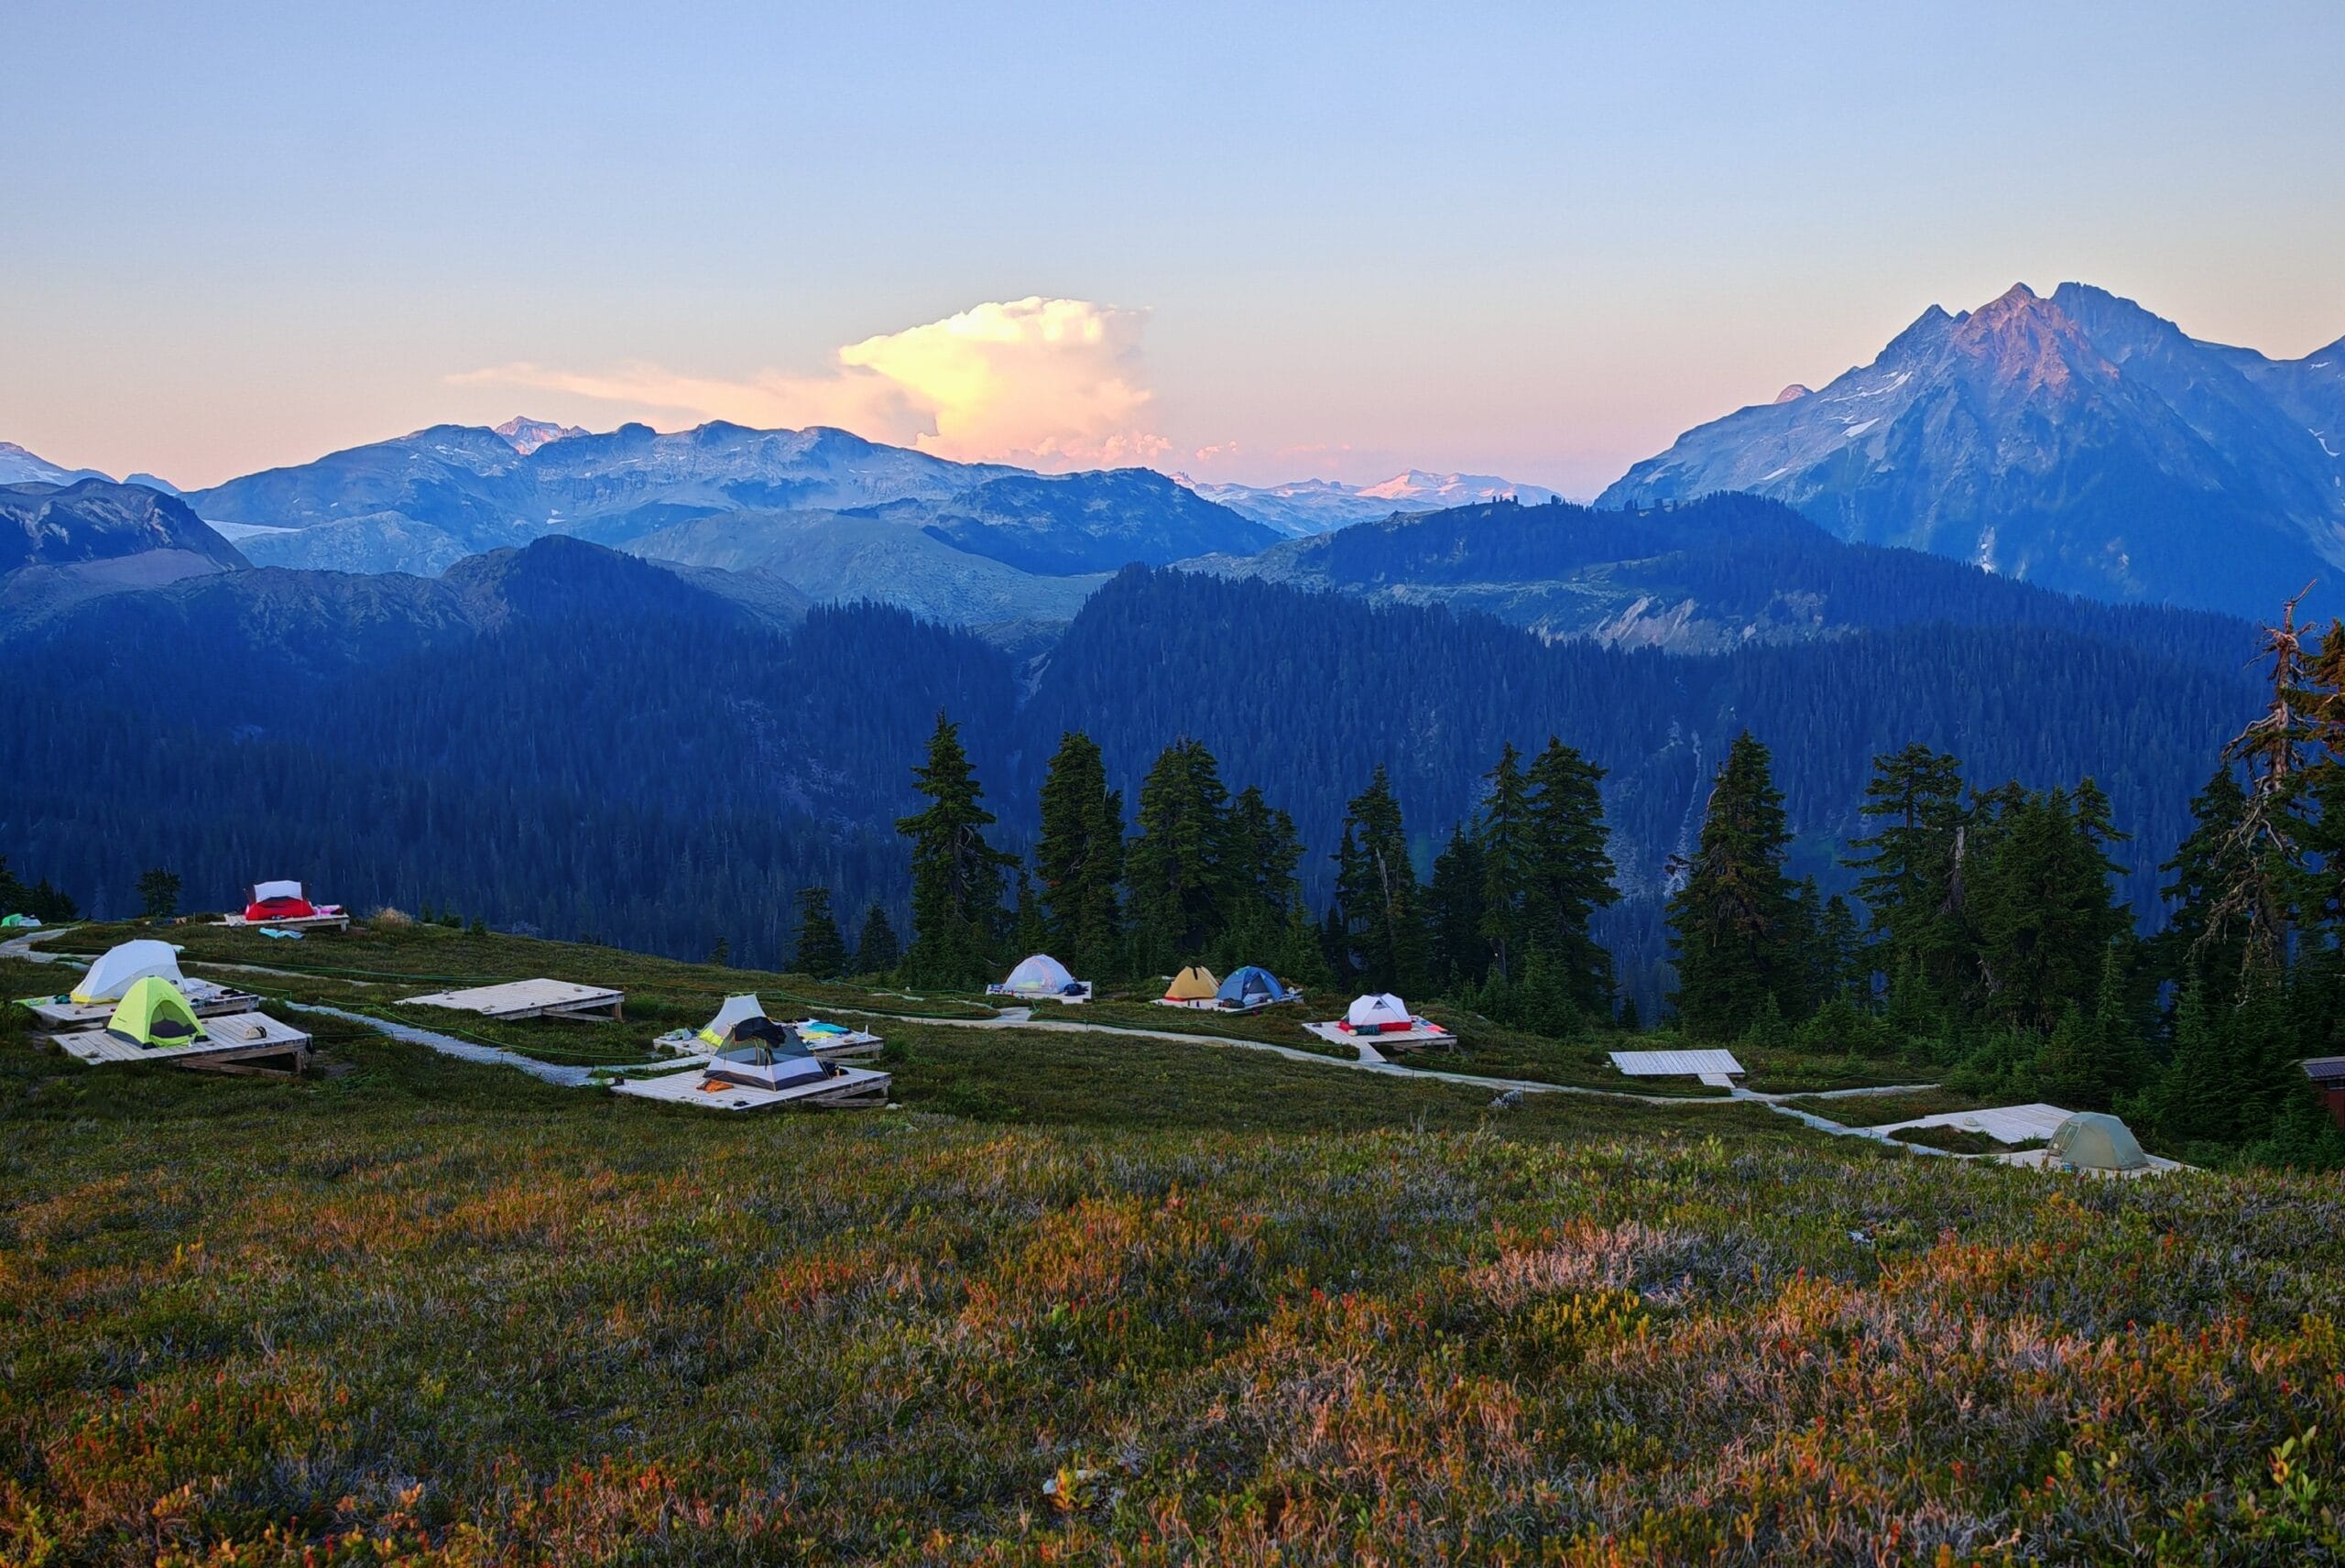
Camp Cooking Equipment Packing List
Stove
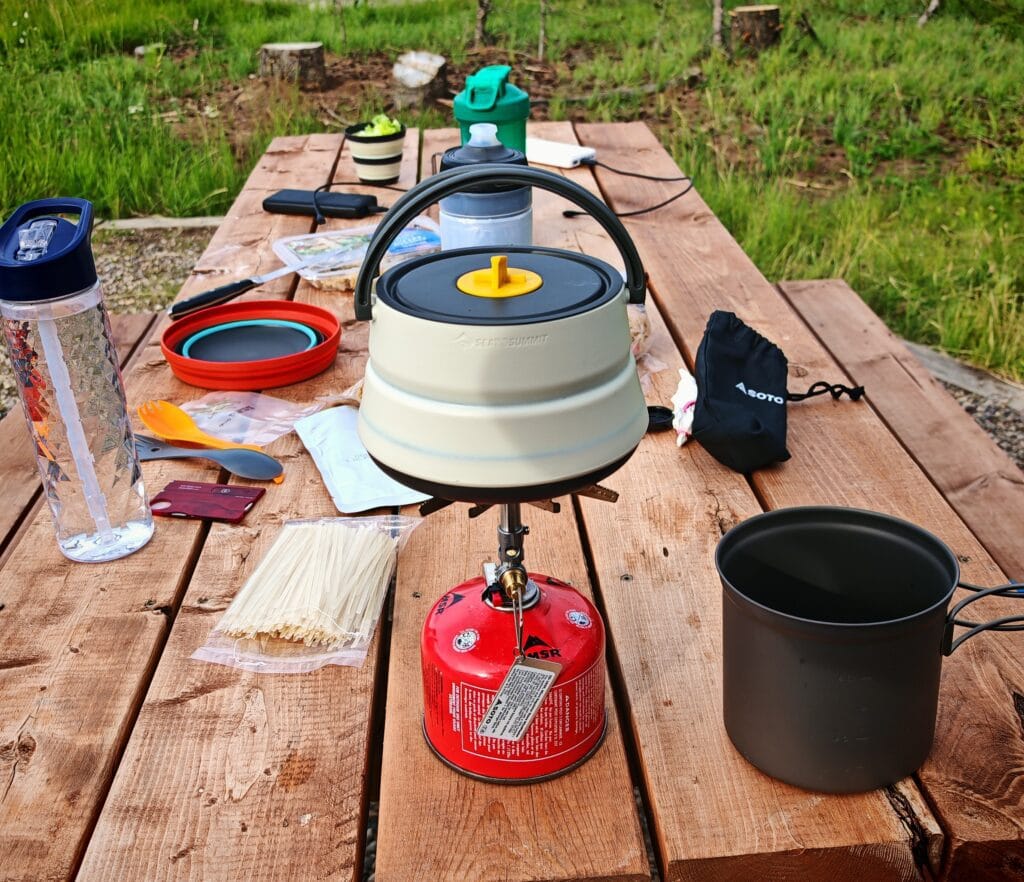
While a campfire barbecue is tempting, a gas stove is a much more efficient way to cook food. Combined with a small canister of gas (a mix of Butane/Propane), which will cost around £5/$5 each, the cooking stove typically uses 10g of fuel to boil 1 litre. I generally opt for the smallest 110g gas canisters in my camp cooking equipment set-up. Mainly due to only boiling water using the highly efficient Soto Windmaster and for basic meals. So far on my various camping and backpacking trips, I’ve never emptied a full gas canister yet.
The stove attachment will cost at least £20; however, I invested towards a premium and ultralight stove that takes up minimal space for trekking. A lot of campers use Jetboil-style stoves which have an integrated water cylinder to boil it very quickly. These integrated cooking systems start at around £60 for an Alpkit Brukit and can extend up to multiple hundreds with a balance of efficiency, size and weight.
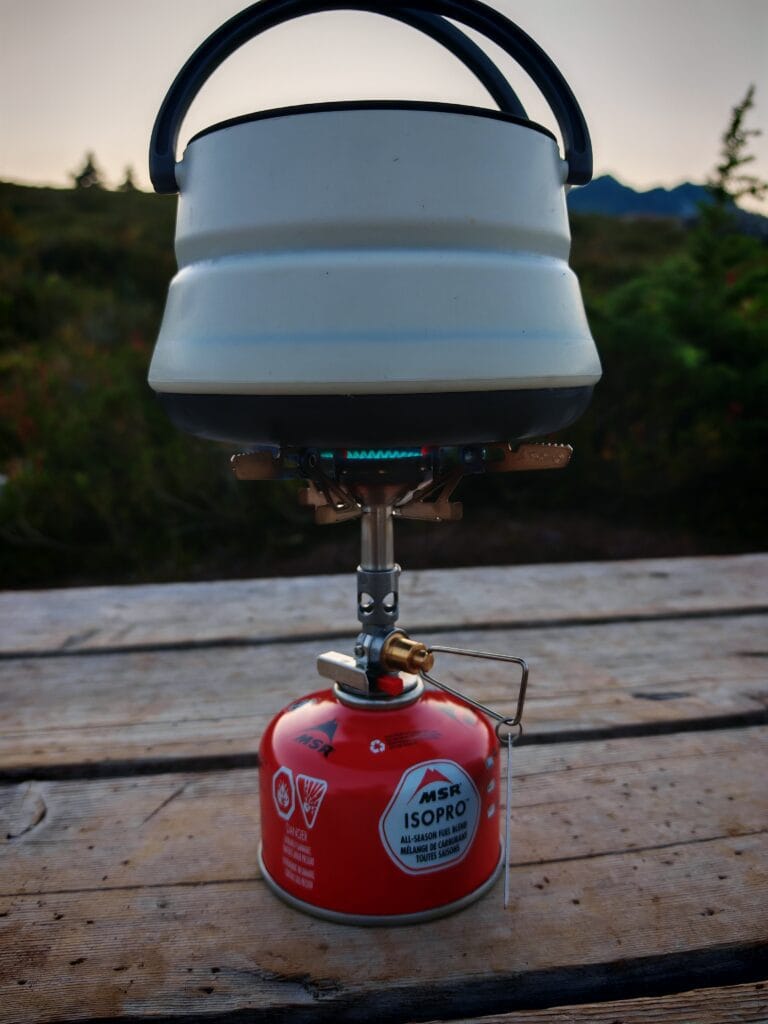
Soto WindMaster Stove – One of the most reliable lightweight stoves for alpine use and backcountry camping. The Soto WindMaster performs exceptionally well in windy conditions due to the raised rim windshield around the burner. Its efficient burn and quick boil times make it ideal for high-altitude cooking. The WindMaster comes with a Piezo igniter to save needing a lighter and so far has performed every time of asking. It’s been a reliable companion in my camp cooking equipment list.
My favourite design elements are the miniature size, folding 4 Flex pot forks and the folding fuel adjuster. Along with the MSR PocketRocket Deluxe, the Soto Windmaster is regularly regarded as one of the best ultralight stoves on the market. It is powerful enough to boil 2 cups of water in 2.5 minutes, and the fuel valve system allows micro adjustments for simmering. When I said it’s ultralight, the Soto Windmaster only weighs 67g (2.3 oz.)!
Gas Canister
Gas Canister & Lighter – A standard gas canister of around 110g is all I use for a couple of days of backcountry camping. This helps keep the weight down by not bringing a larger and heavier 450g canister to not use the fuel. It’s a balance of having spare and not lugging around too much. In general, 10g is needed to boil 1 litre of water, so I try to average 25g a day so that the canister will last 4 -5 days.
The fuel consumption can be higher if you’re cooking breakfast, lunch and dinner with the stove or at higher altitudes. Even with the Piezo igniter on the Soto Windmaster, I still keep a lighter accessible and always carry a backup if heading into remote terrain as part of my camp cooking equipment.
Pot & Pan
If you are camping on a trek, then backpack weight will become a limiting factor. Realistically, don’t expect gourmet meals using a camping stove, but it’s easy to still make tasty and nutritious food. A simple Army mess tin or pot for cooking is a good start, with a kettle to quickly boil water. A Trangia Crookest is a good alternative to using a gas canister, where methanol fuel is added to the burner to cook.
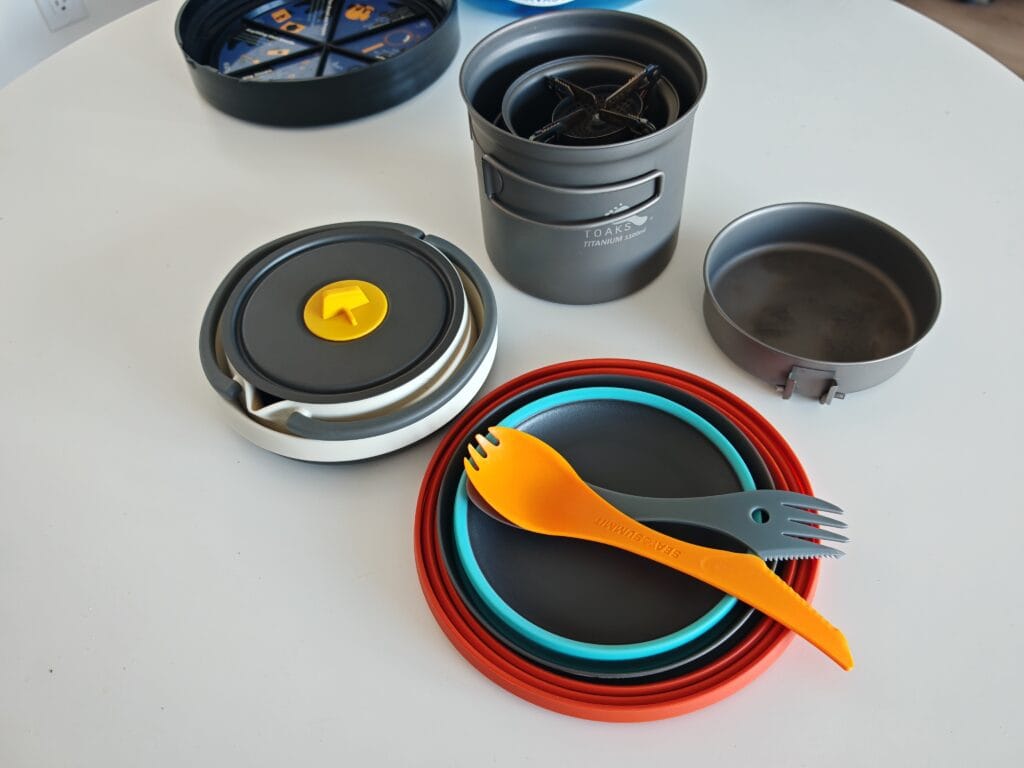
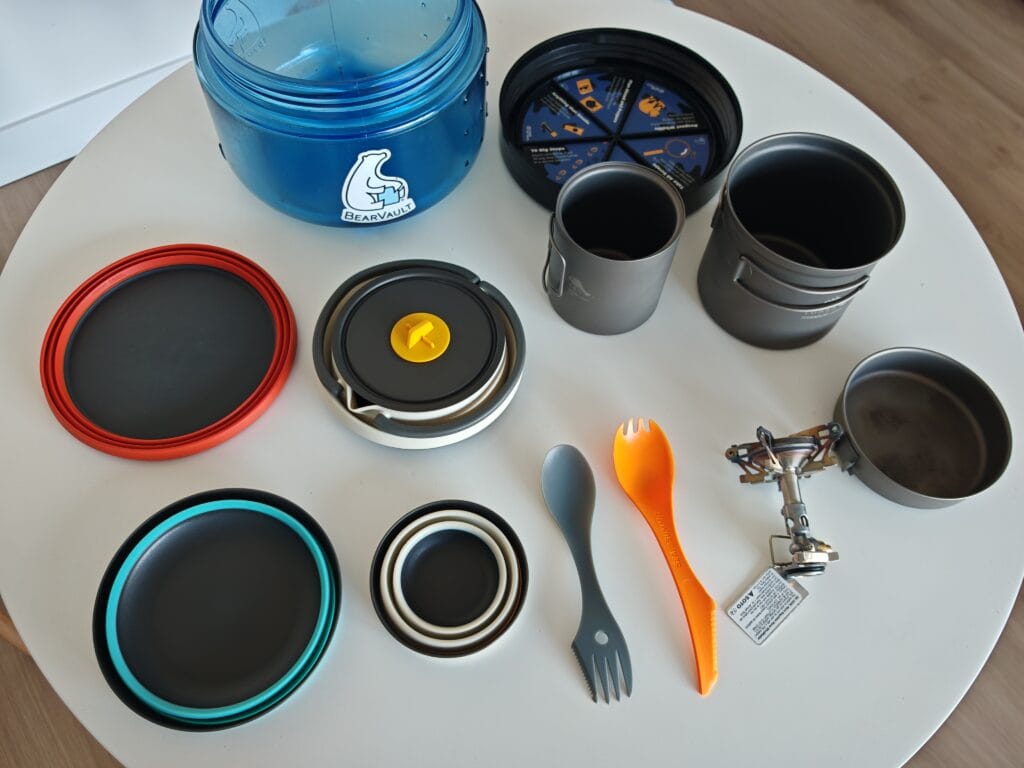
Toaks Titanium 1100ml Pot with Pan – An ultralight, minimalist titanium pot with a pan for a lid is ideal for backpacking. The 1.1 litre volume allows a dinner for 2 people to be cooked easily, and the small fry pan helps to boil water or cook other food quickly. Toaks is known for its high-quality and durable titanium cookware, and this only weighs 159g with the pan too! I usually put the Soto Windmaster Stove and my Toaks 450ml Titanium Mug inside the larger pot and Pan for compact and smart storage in my backpack.
Collapsible Bowl & Kettle
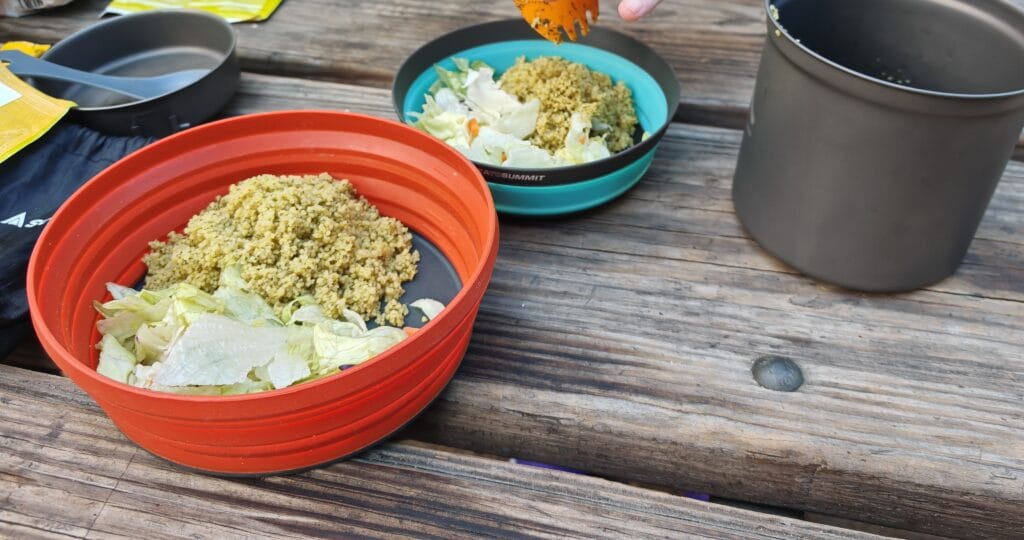
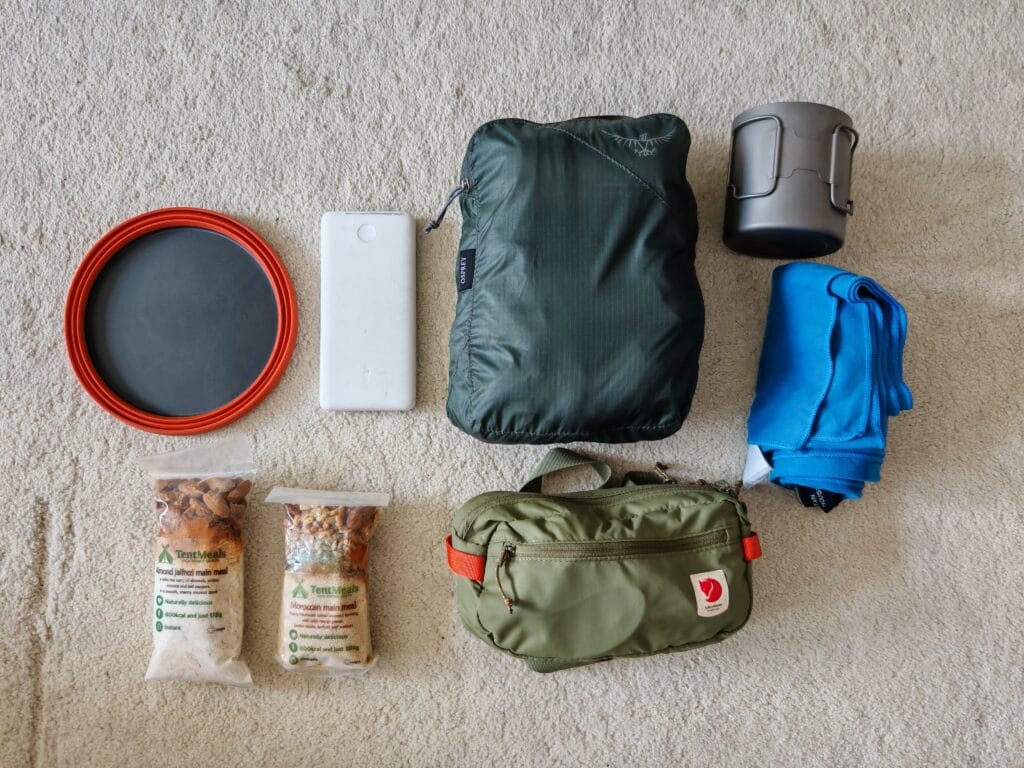
Sea to Summit X-Bowl is a collapsible camping bowl that takes limited space and is versatile. It doubles as a chopping bowl, which is preferable when trekking to have multi-purpose items! Additionally, it has a great capacity-to-weight ratio due to the silicone collapsing sides. It was super easy to clean and kept the food warm for a good amount of time, so I would highly recommend it instead of a traditional mess tin.
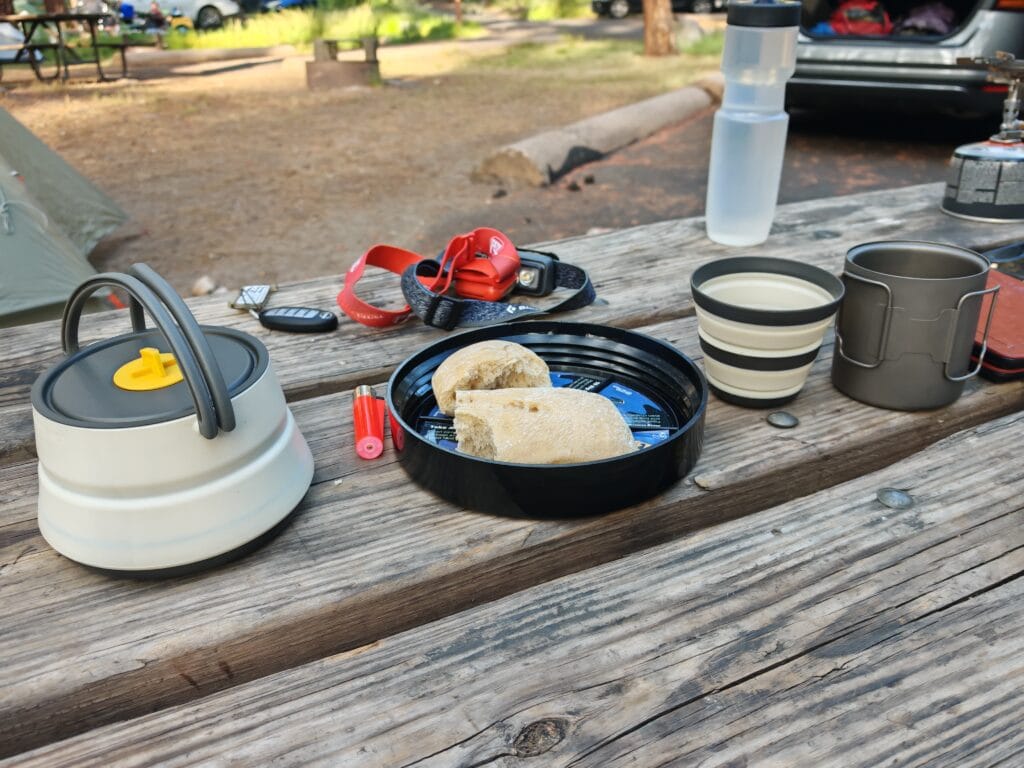
Sea to Summit Frontier Ultralight Collapsible Kettle – This compact cooking system is designed for efficiency, allowing you to boil water quickly and store multiple items inside. The collapsible kettle design keeps your pack streamlined without sacrificing functionality. The kettle allows 1.1 litres to be boiled quickly with its metal lid and only weighs 200g. It’s the best way that’s not a Jetboil to boil water for a dehydrated meal or making tea.
Utensils
As we generally use dehydrated meals or simple dishes, we manage to mix and prep everything with Sporks and a single pen knife (including some scissors). This minimalist approach, along with the lightweight and compact cookware, means preparing and cooking dinner is simple and stress-free.
Sea to Summit Delta Spork – A lightweight, durable utensil that combines spoon and fork functionality in one simple tool. It’s an essential space-saver for any streamlined backpacking packing list. Unlike most sporks with a Fork & Knife combo on one end and a Spoon on the other, this design has the knife as part of the handle, which is more effective for cutting bread and harder foods.
Mug
There is a joy in enjoying a hot beverage after a long hike with a beautiful view of the wilderness. A quality camping mug is pretty handy for teas and coffees, which will warm you up fast. The Toaks Titanium Camping Mug is a lightweight & strong metal mug with a clever handle to pack away neatly.
Toaks Titanium Mug 450ml – An ultralight, minimalist titanium mug perfect for boiling water or sipping coffee on the trail. Durable and compact, it pairs seamlessly with small stoves and packs down easily inside your kit. I even use it as a small pot for cooking food as a multi-purpose mug/ pan ato ligh weight my Backpacking packing List.
Sea to Summit Collapsible Mug is another part of the cooking set with the Kettle. It folds down to be stored inside the kettle and holds a regular cup of water/tea. The Silicone Mug doesn’t retain the heat as much as the Titanium ones but works seamlessly with the rest of the camp cooking equipment.
Food
Food & camp cooking equipment are one of the heaviest items to pack on a trek, and given you will need 3 meals a day plus snacks to fuel properly, it’s wise to pick strategic foods. Instant or dehydrated meals are a safe and effective dinner option requiring only boiled water to prepare. I recently used Tentmeals, which are vegan dehydrated meals and were very fragrant and fresh compared to others.
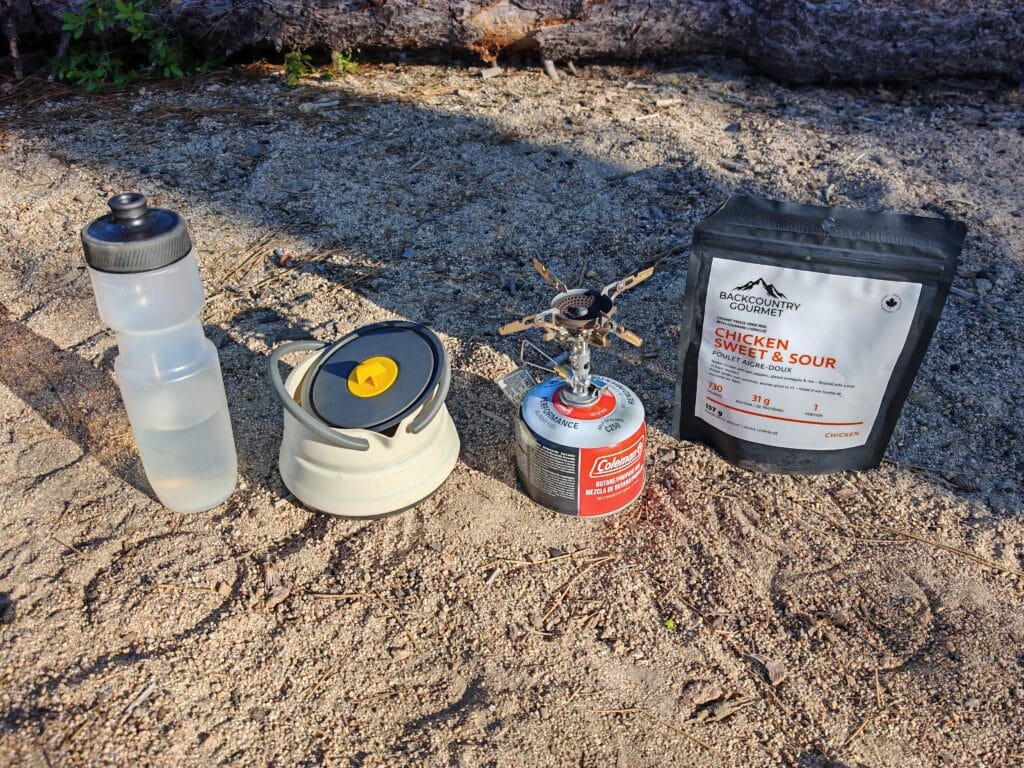
Many companies are selling pre-cooked and ready-to-eat meals for around £7 ($10) per meal, so it’s worth trying different brands and recipes to see what you like. Unless you’re car camping or have easy access to shops, it’s very hard to carry lots of fresh ingredients or items that need refrigeration. You never want a bland tasting meal after a long day hiking. Recently, I discovered Backcountry Gourmet in Canada, who produce organic, high-calorie and protein meals which are ideal for hiking or backpacking days. See below about my backpacking and camping meal strategy:
- Breakfast – Instant oats are a great breakfast as they take up little space and provide a filling and diverse feed. Alternatively, granola/cereal along with powdered milk and bananas works well. Finally, honey and bagels always work as a safe back-up.
- Lunch – Ideally, a filling sandwich, but it’s difficult to make daily without a fridge for the protein filling and salad. In Yosemite, we used Honey Bagels and crisps as our lunches, which were surprisingly tasty, quick to prepare and eat.
- Dinner – Our 2 favourite go-to meals from scratch and at a campsite are Couscous with bread, falafel and/or chicken with a fresh salad bag, which works best on Night 1. Then we pick up pad Thai kits with noodles, sauce and garnish included, then buy tofu/cooked chicken to complete the meal. We tend to use bagels to supplement our meals and increase our carbohydrate intake.
- Dehydrated Meals – When more remote or after multiple days backpacking, then a dehydrated meal has the best bang for buck and gram. They’re lightweight, calorie-dense meals that require only hot water, making them ideal for fast and efficient refuelling. Perfect for saving pack weight without compromising nutrition, with a variety of recipes to sample (with breakfast and dessert options available too).
- Energy Gels – Quick-absorbing carbohydrates designed for on-the-move energy during long climbs or demanding sections. Easy to carry and consume without stopping.
- Protein Bars – A simple and reliable snack option for sustained energy throughout the day. They’re compact, filling, and easy to stash in quick-access pockets.
- Snacks – sugar-coated M&Ms work best for a sweet treat to avoid melting too much. The same applies to 70% dark chocolate, where you only need a square on the trail. Finally, sweets (Haribo) are a good mood booster and good for energy and carbohydrates.
- Trail Mix – dried fruits and snacks are always needed for an outdoor adventure, especially when hiking, to keep energy levels and morale high for me.
Hydration Bladder
A hydration bladder is a great way of easily carrying larger quantities of water compared to a water bottle. For multi-day trekking without access to tap water, a larger capacity is an advantage to stay hydrated. Recently, I upgraded to the Gregory 3D 3L Bladder for more capacity, better valve control and easier cleaning as part of my camp cooking equipment. We also bring 500ml running hydration flasks to carry more water when in remote and wild campsites.
Water Purification
LifeSystems Chlorine Dioxide Tablets are more expensive than Chlorine ones but more effective in killing bacteria and viruses. Especially when camping, finding fresh clean water is important for hydration and food cooking. If carrying litres of water is not preferred, then water purification tablets, droplets or a straw system allows water to be purified easily. The traditional approach is to boil the water to kill any bacteria. We more recently use a LifeStraw Personal Water Filter in our camp cooking equipment set-up, which allows you to drink from a water source and screw into a bottle to refill bladders.
Microfibre Cloth & Soap
A small microfibre cloth and multi-purpose soap is useful for washing up bowls, mugs and cooking equipment in a sink. Be careful when washing in natural water streams to not pollute the water with chemicals. Some campsites have very specific instructions for where to clean and rinse off dirty cookware.
Bear Vault
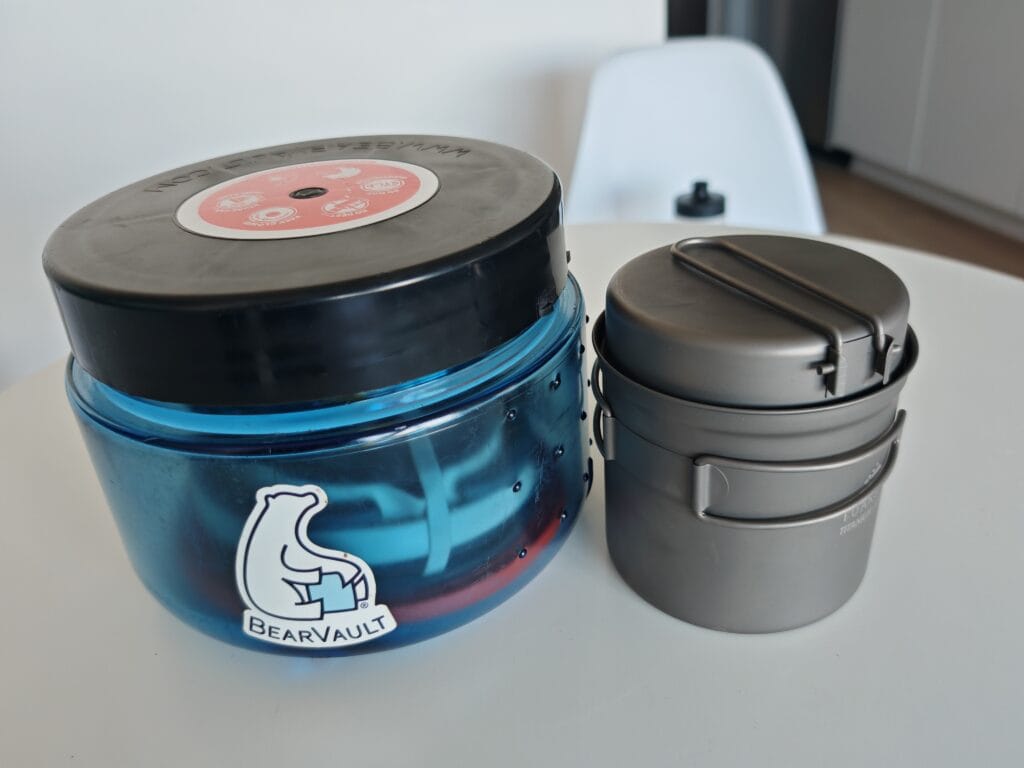
BearVault 400 – A durable, bear-resistant food container designed to keep wildlife out of your supplies. Required in many backcountry areas and useful for safely storing food overnight. Bear vaults are hard-shelled, so pack around it and keep it low in the pack so the rest of the backpacking packing list can fit around it. It can even be used as a seat, and the lid occasionally helps keep items organised around a campsite bench.
ZipLock / Sandwich Bags
Finally, to help organise powdered milks, protein powders, trail mix and bagels, we use Ziploc sandwich bags for everything. Generally, we use old food packaging as a bin, but Ziploc bags are good bins for rubbish as well. Also, Ziploc bags are water rpoof so adds to the versatile nature and are a must for our camp cooking equipment list.
Where this cooking system fuelled the adventure
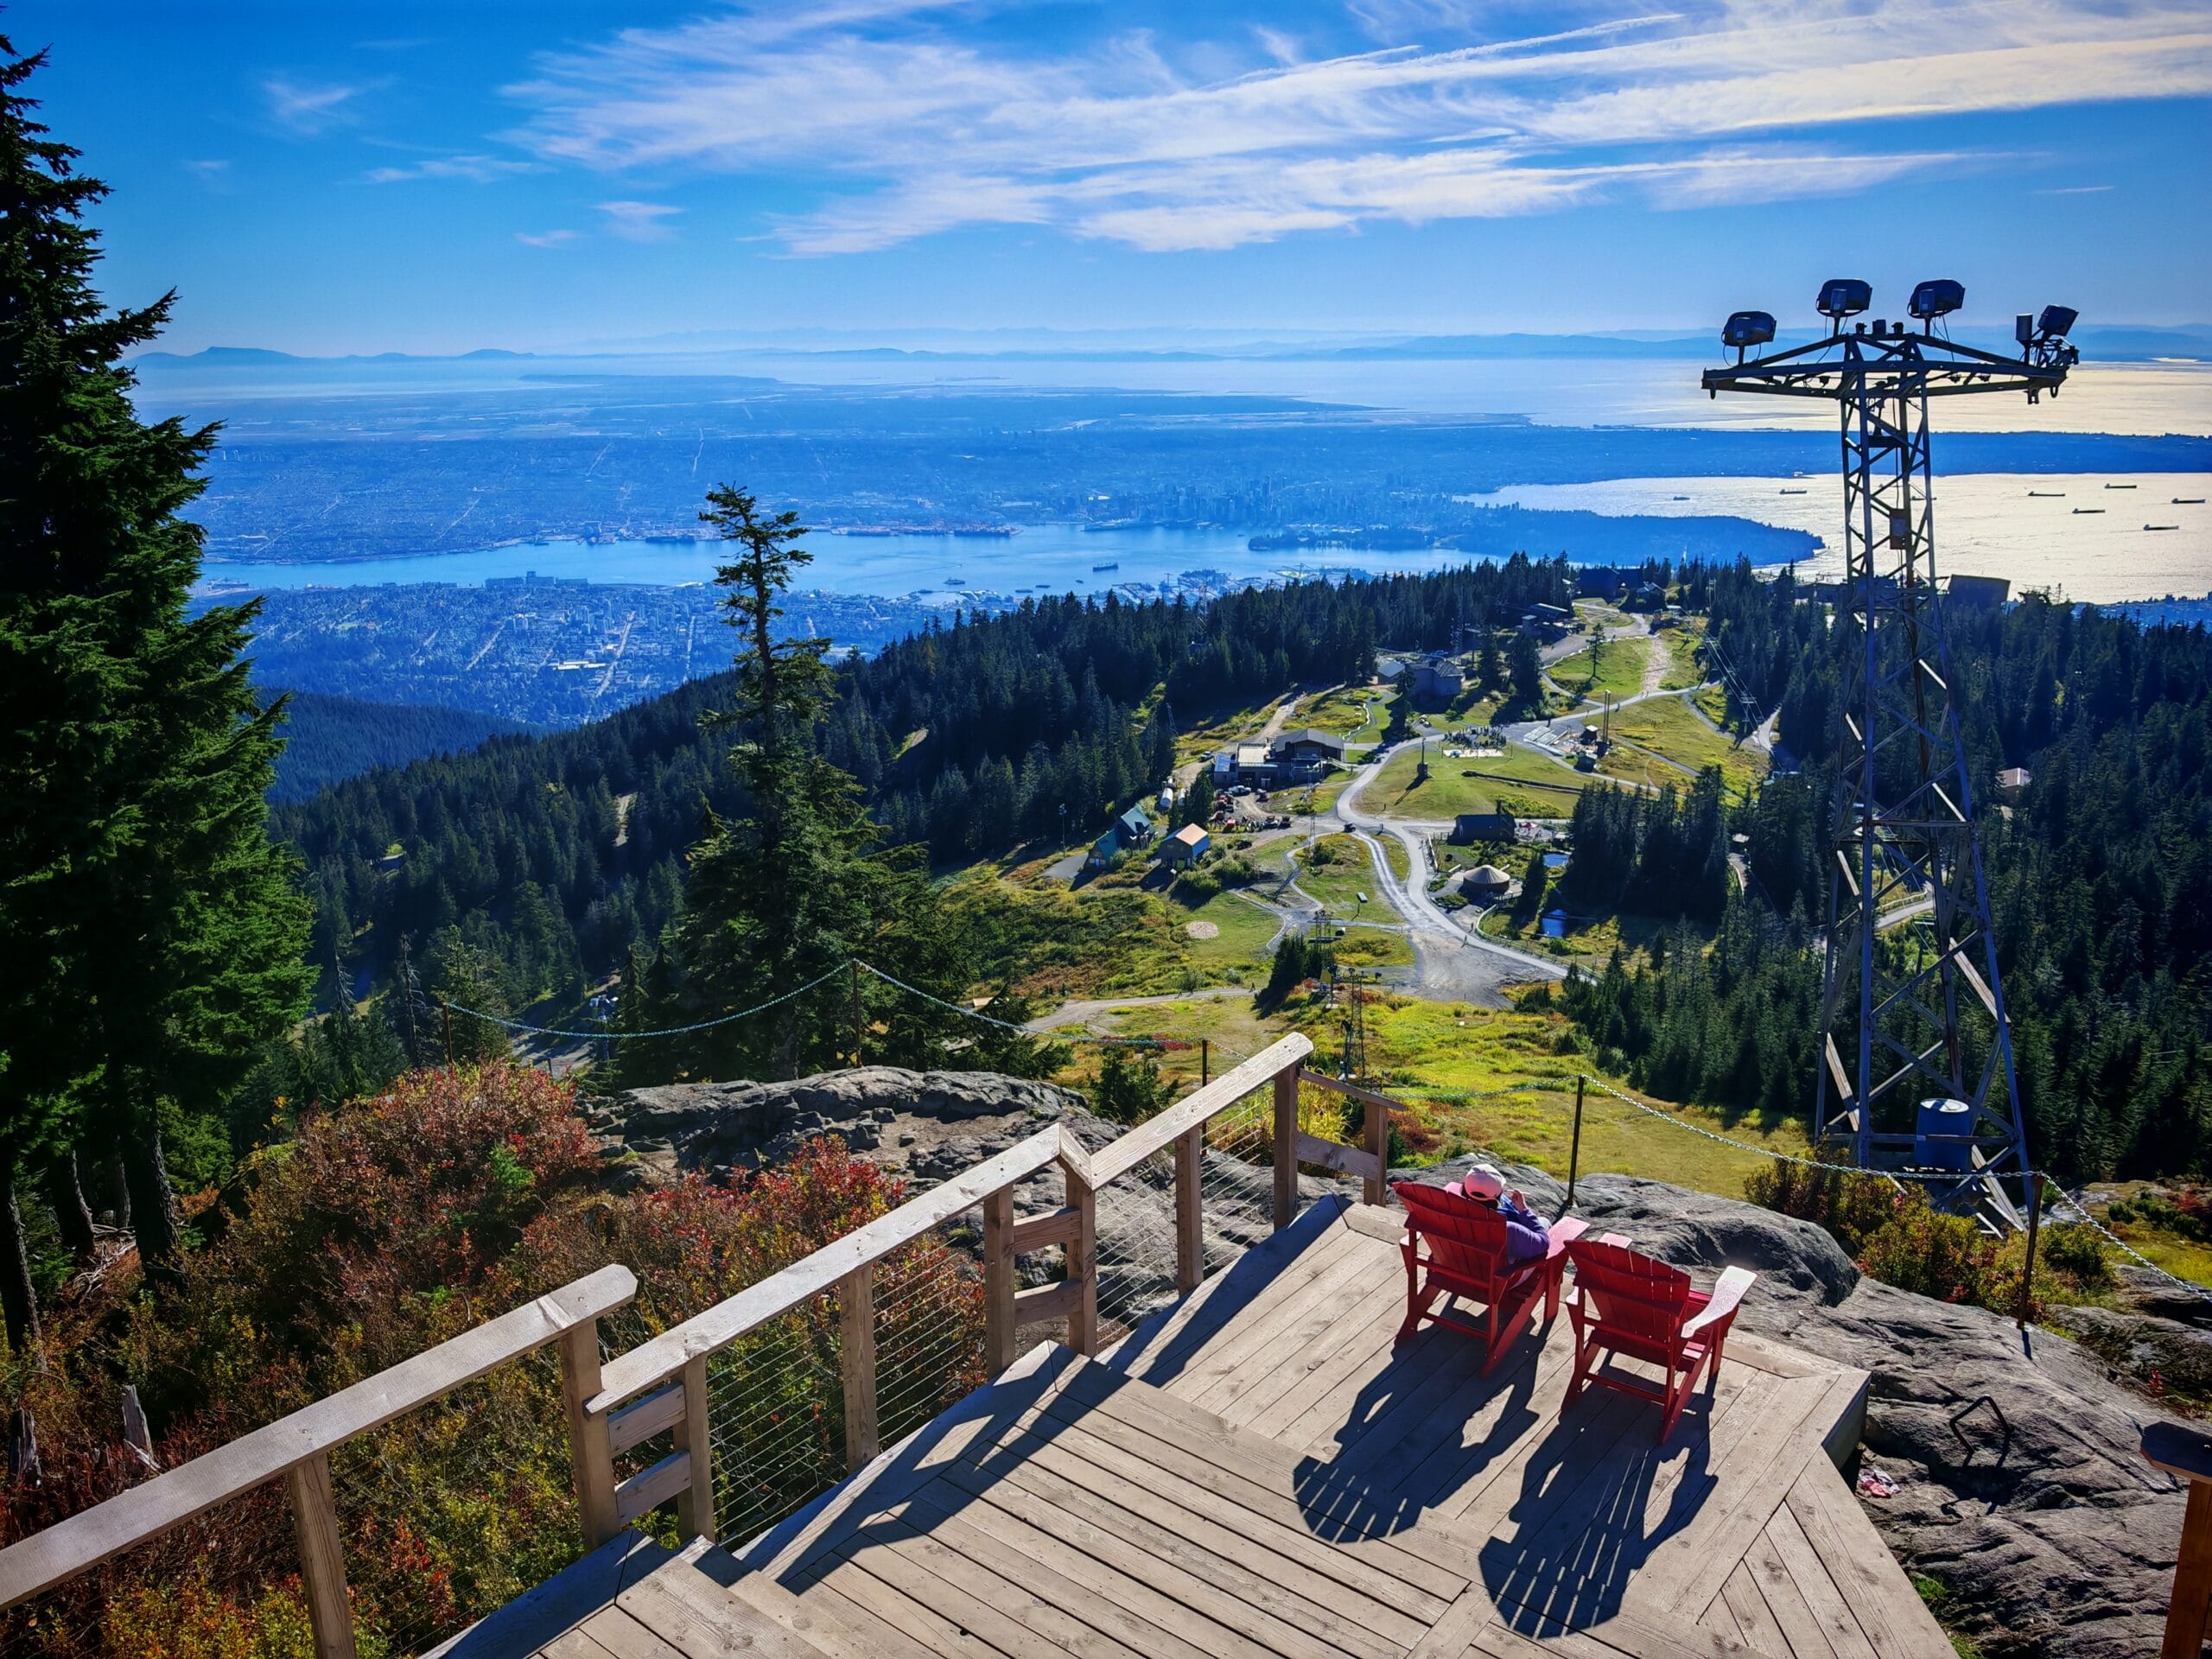
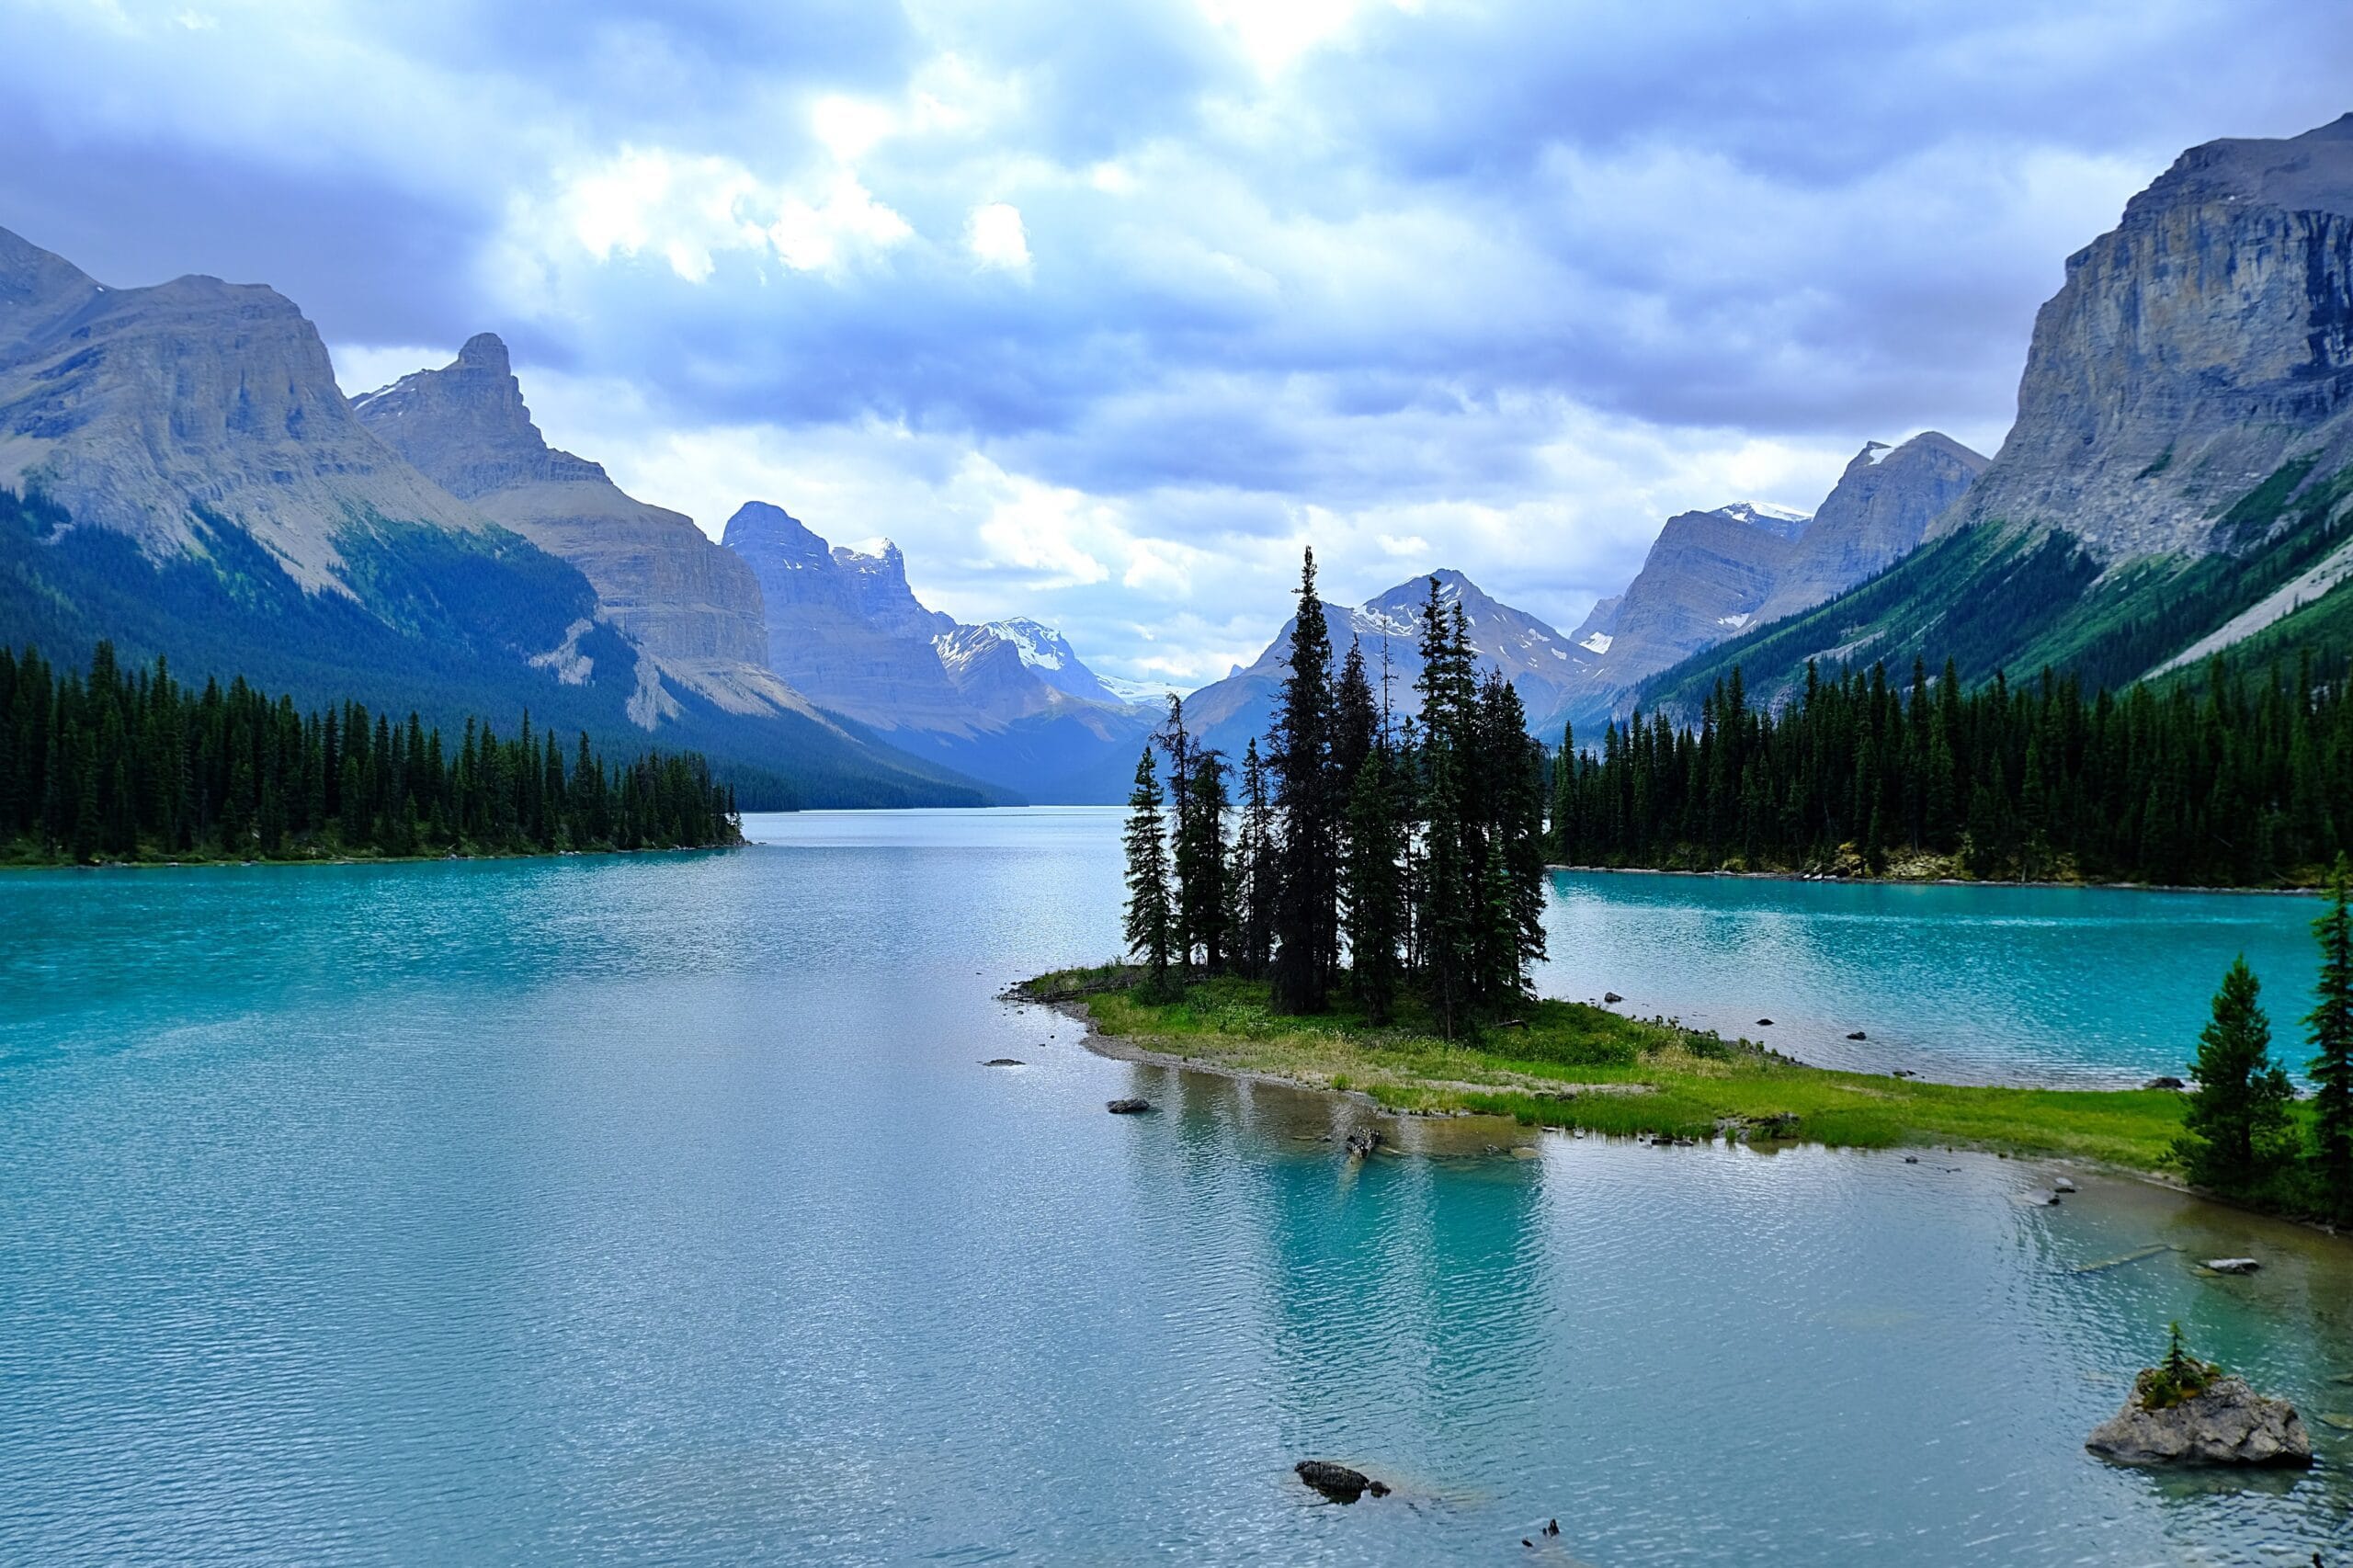
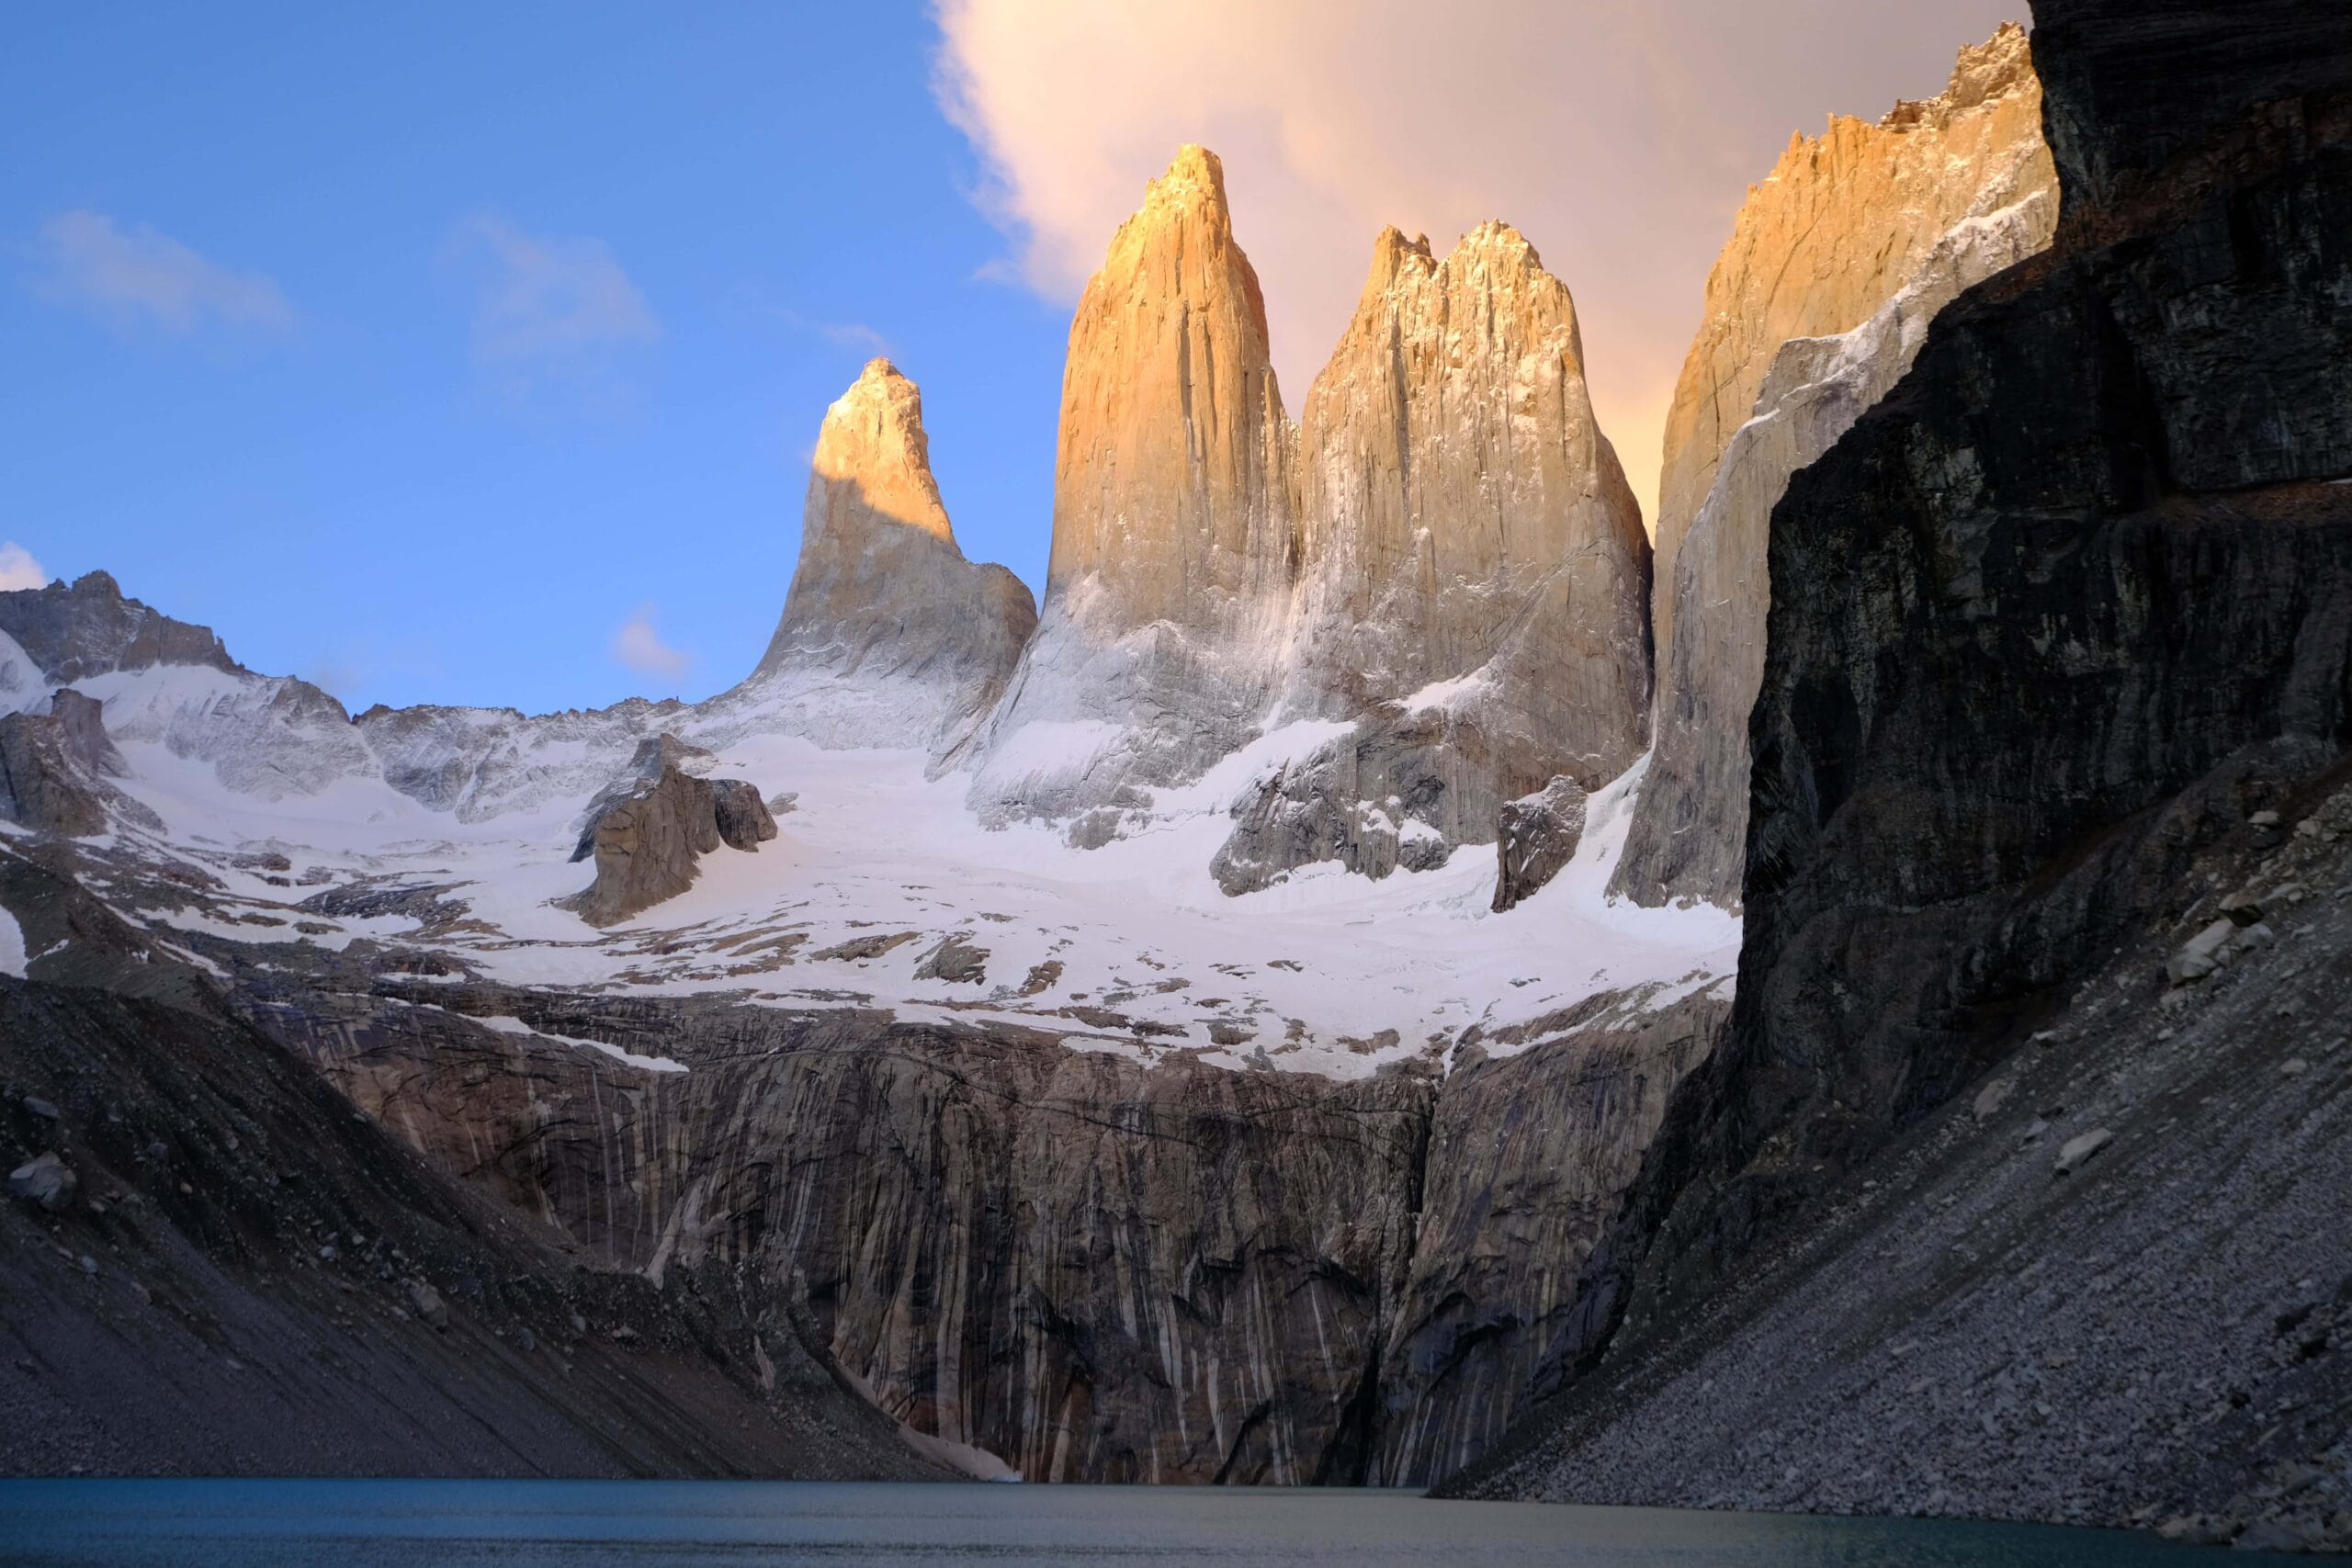
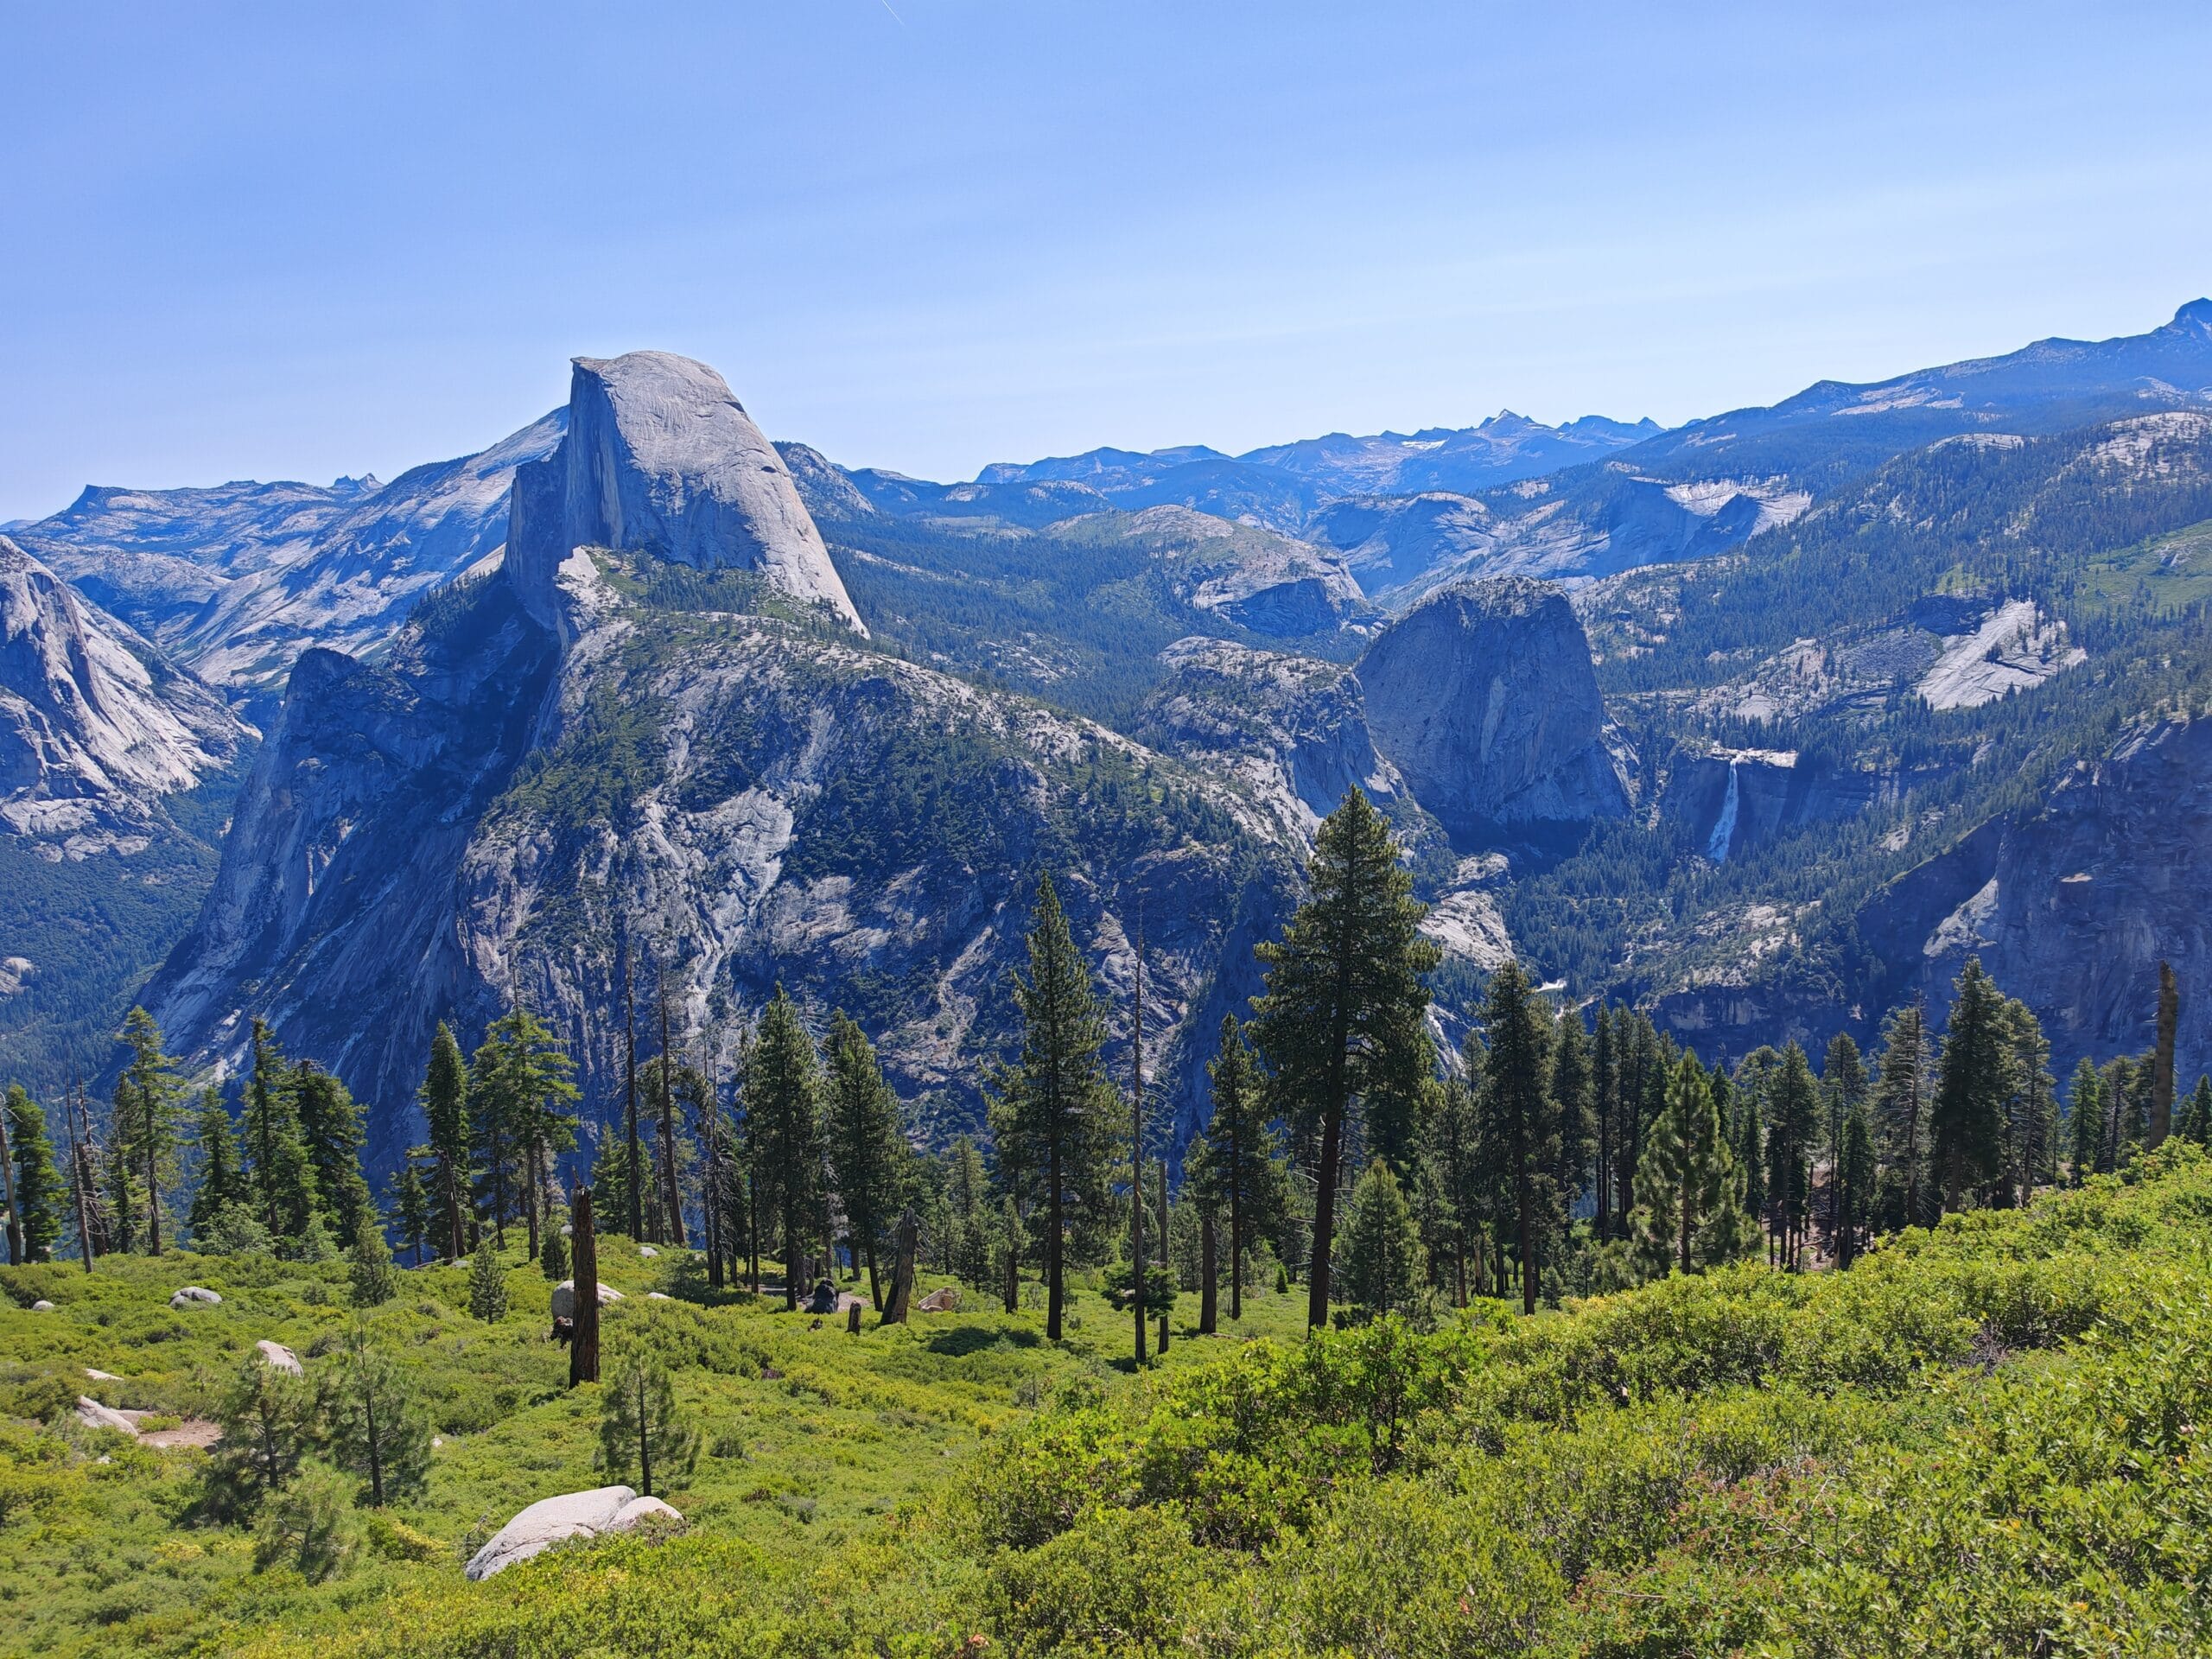
Backpacking stoves don’t prove themselves in the backyard. My camp cooking equipment has been used across Patagonia, the Canadian Rockies, the Yukon, Yosemite, and countless overnight trips in British Columbia, providing hot meals, coffee, and morale when it mattered most.
Types of Backpacking Cooking Systems
Choosing the right backpacking camp cooking equipment and system largely depends on where you’re hiking, the type of meals you plan to cook, and how much weight you’re willing to carry. Over the years, several different stove systems have emerged, each with its own strengths and weaknesses.
Canister Stove Systems
Canister stoves are by far the most popular choice among modern backpackers and are the system I use for most hiking and trekking trips. These stoves run on pre-pressurised isobutane or propane fuel canisters and are prized for their simplicity, reliability, and ease of use. Most models are lightweight, compact, and capable of boiling water quickly, making them ideal for dehydrated meals and hot drinks after a long day on the trail.
Another major advantage is flame control. Unlike some ultralight systems, canister stoves allow you to simmer food effectively, making them suitable for more than just boiling water. The main drawback is that performance can decrease in very cold temperatures, particularly during winter adventures. You also need to carry and dispose of empty fuel canisters responsibly. Popular examples include the Jetboil range, MSR PocketRocket, and Soto WindMaster.
Liquid Fuel Stoves
Liquid fuel stoves were once the standard choice for backpacking and expedition travel, and they remain popular among mountaineers and long-distance adventurers. These stoves run on fuels such as white gas, kerosene, or unleaded petrol and are particularly effective in cold weather where canister stoves can struggle.
One of their biggest advantages is fuel availability. On international expeditions or remote journeys, liquid fuel is often easier to source than specialised gas canisters. They also perform exceptionally well at high altitudes and in freezing conditions, hence their use for mountaineers. However, they tend to be heavier, more complex, and require regular maintenance. Priming the stove can also be messy for beginners. For most recreational backpackers, they are often more stove than necessary, but for winter mountaineering and extended expeditions, they remain a reliable option.
Alcohol Stoves
Alcohol stoves have become popular within the ultralight backpacking community thanks to their incredibly low weight and minimalist design. Often weighing only a few grams, they use denatured alcohol or methylated spirits as fuel and can be homemade or purchased commercially.
The primary appeal of an alcohol stove is simplicity. There are very few moving parts, almost nothing can break, and the overall weight is hard to beat. The downside is performance. Boil times are slower than gas stoves, flame control is limited, and fuel efficiency can suffer in windy or cold conditions. For hikers focused on reducing pack weight above all else, alcohol stoves remain a viable option, but they require a little more patience compared to modern canister systems.
Integrated Cooking Systems
Integrated cooking systems combine a stove, pot, heat exchanger, and wind protection into a single unit. These systems are designed to maximise fuel efficiency and speed, making them particularly appealing for solo hikers and anyone who primarily prepares dehydrated meals.
Their greatest strength is efficiency. By reducing heat loss and directing energy straight into the cooking pot, they can boil water significantly faster while using less fuel. They are also more stable than many traditional stove setups and perform well in windy conditions. The trade-off is flexibility. Most integrated systems are designed primarily for boiling water rather than cooking elaborate meals, and they’re often more expensive than standard stove and pot combinations. Well-known examples include the Jetboil Flash, Jetboil Stash, and MSR WindBurner.
Cooking Safely Around Tents and in Bear Country
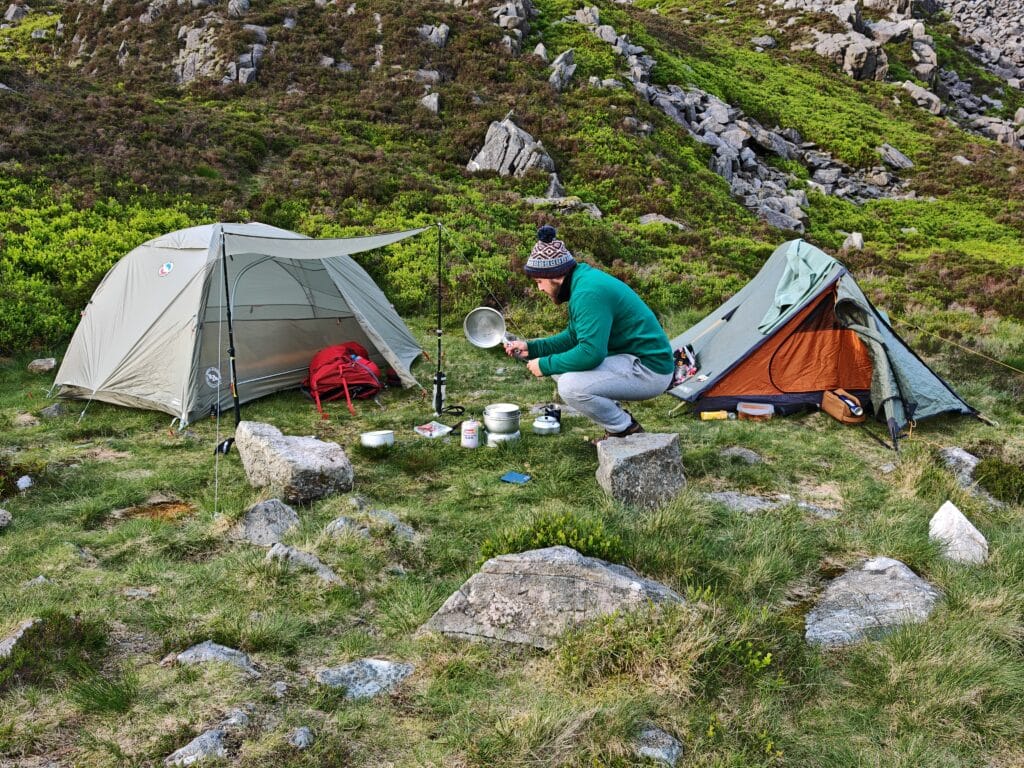
Cooking near a tent requires caution—fire and nylon don’t mix, so never cook inside your tent or vestibule! Ideally cook in a mess hut or at least 3 metres away from your shelter. It’s best to always use a flat and stable ground for your stove to avoid spilling hot water or spreading flames. Try to shield the stove from wind using rocks or a shield. Finally, always allow the stove to cool before packing away.
When sleeping in backcountry campsites where bears live, it’s very important to follow Bear Safety steps. It’s recommended to cook away from your campsite and to store food ideally in a metal bear locker. If this is not an option, then a hard, rugged Bear Vault is often recommended by the National Park Service and for thru-hiking or wilderness permits where all your food and toiletries are required to be stored in the vault. Keep the Vault near camp but not inside in case a Bear is attracted to smells and wants to pay a visit.
Food storage and refrigeration is always tricky when backpacking and considering what camp cooking equipment to take. We try to store our food in cars in shade when hiking on trailheads and buy food that won’t go off without refrigeration. Items like bagels, powdered milk, cereal, snacks and dehydrated meals are our go-to options.
Backpacking Camp Cooking Equipment & Setup Tips
- Stove on a flat rock or stove base
- Cook upwind from your tent
- Keep water nearby in case of flare-ups
- Store food immediately after eating
- Cook in kitchen or away from tent
- Food storage in bear vault or pulley system
Camp Cooking Equipment Summary
Your camp cooking equipment and kitchen don’t need to be complicated. In fact, the best backpacking cooking systems are usually the simplest. By focusing on lightweight, reliable equipment and eliminating unnecessary extras, you can create a setup that performs in a wide range of environments without adding excess weight to your pack.
The exact camp cooking equipment you choose will depend on your destination, trip length, and personal preferences, but the core principles remain the same: carry an efficient stove, practical cookware, enough fuel, and a few essential accessories. Everything else is optional.
Whether you’re looking for the lightest backpacking stove, building an outdoor cooking system from scratch, or simply refining your existing setup, investing in quality camp cooking equipment will make every multi-day adventure more enjoyable.
Camp Cooking Equipment FAQs
What camp cooking equipment do I need for backpacking?
Most backpackers need a stove, fuel canister, cooking pot, lighter, mug, utensil, and a simple food storage system. Keeping your camp cooking equipment lightweight is often more important than carrying multiple cooking items.
What is the lightest backpacking stove?
Some of the lightest backpacking stoves weigh less than 50 grams and use small screw-top gas canisters. Ultralight hikers typically prioritise weight, while longer trips may require more robust camp cooking equipment.
What is the best outdoor cooking system for multi-day hikes?
The best outdoor camp cooking equipment balances weight, fuel efficiency, durability, and ease of use. Integrated stove systems excel at boiling water quickly, while traditional stove and pot combinations offer greater flexibility.
Is an ultralight backpacking stove worth it?
For most backpackers, yes. An ultralight backpacking stove can significantly reduce pack weight while still providing enough performance for boiling water, preparing dehydrated meals, and making hot drinks.
How much fuel do you need for backpacking?
Fuel requirements depend on trip length, temperature, and cooking habits. Most backpackers carry enough fuel to boil water for meals and drinks, with additional reserves during cold-weather adventures where fuel consumption increases. I usually pick up an 110g canister for a week’s worth of camping, as I usually only use it for dinner to boil water for food and tea. If you’re cooking 3 meals a day, then look at a 230g or 450g-sized gas canister.