Applying for a Canada IEC Visa can feel confusing when you first open the Government of Canada website. There are pools, invitations, deadlines, biometrics, police certificates, health insurance requirements and arrival documents to understand before you can properly start planning your move.
The good news is that International Experience Canada, often shortened to IEC Canada, is a well-established pathway that allows eligible young people from partner countries to live and work in Canada temporarily. The Government of Canada describes IEC as a program for eligible people aged 18 to 35, or 18 to 30 for some countries, to work and travel in Canada. The 2026 IEC season is open, and eligible candidates can create a profile while pools are open. [canada.ca], [canada.ca]
This guide explains the Canada IEC application process in plain English, from checking eligibility and entering the IEC pool to receiving an Invitation to Apply, uploading documents, paying fees, giving biometrics, receiving your Port of Entry letter and preparing to arrive in Canada.
This is based on personal experience and research, but it is not immigration or legal advice. Always check the official Government of Canada / IRCC website before applying, because IEC rules, fees, quotas, country eligibility and deadlines can change.
What Is the Canada IEC Visa?
The Canada IEC Visa is the informal name many travellers use for a work permit through International Experience Canada. IEC is not just one visa; it is a youth mobility program with different categories depending on your nationality, age, work plans and whether you have a job offer. The Canada IEC Visa for UK citizens is for up to 2 years with an option to apply for a 3rd year.
For most backpackers and travellers, the most popular route is the Canada Working Holiday Visa, because it can provide an open work permit. That means you are not tied to one employer and can travel and work in different places across Canada, depending on the conditions of your permit.
To apply for the Canada IEC Visa Program, you must be a citizen of a country with a Youth Mobility Arrangement with Canada — this guide will focus on my experience from the UK. You must be aged typically 18–35 (check your exact age limit on the Canada.ca site).
Why move to Canada on a Canada IEC VISA?
Need motivation to apply for the Canada IEC Visa?
Before moving to Canada, our 2-week road trip through Western Canada showed exactly why the IEC visa is worth considering: mountain towns, turquoise lakes, national parks, wildlife, road trip freedom and some of the best outdoor scenery in the world.
Read the 2-Week Canada Road Trip Guide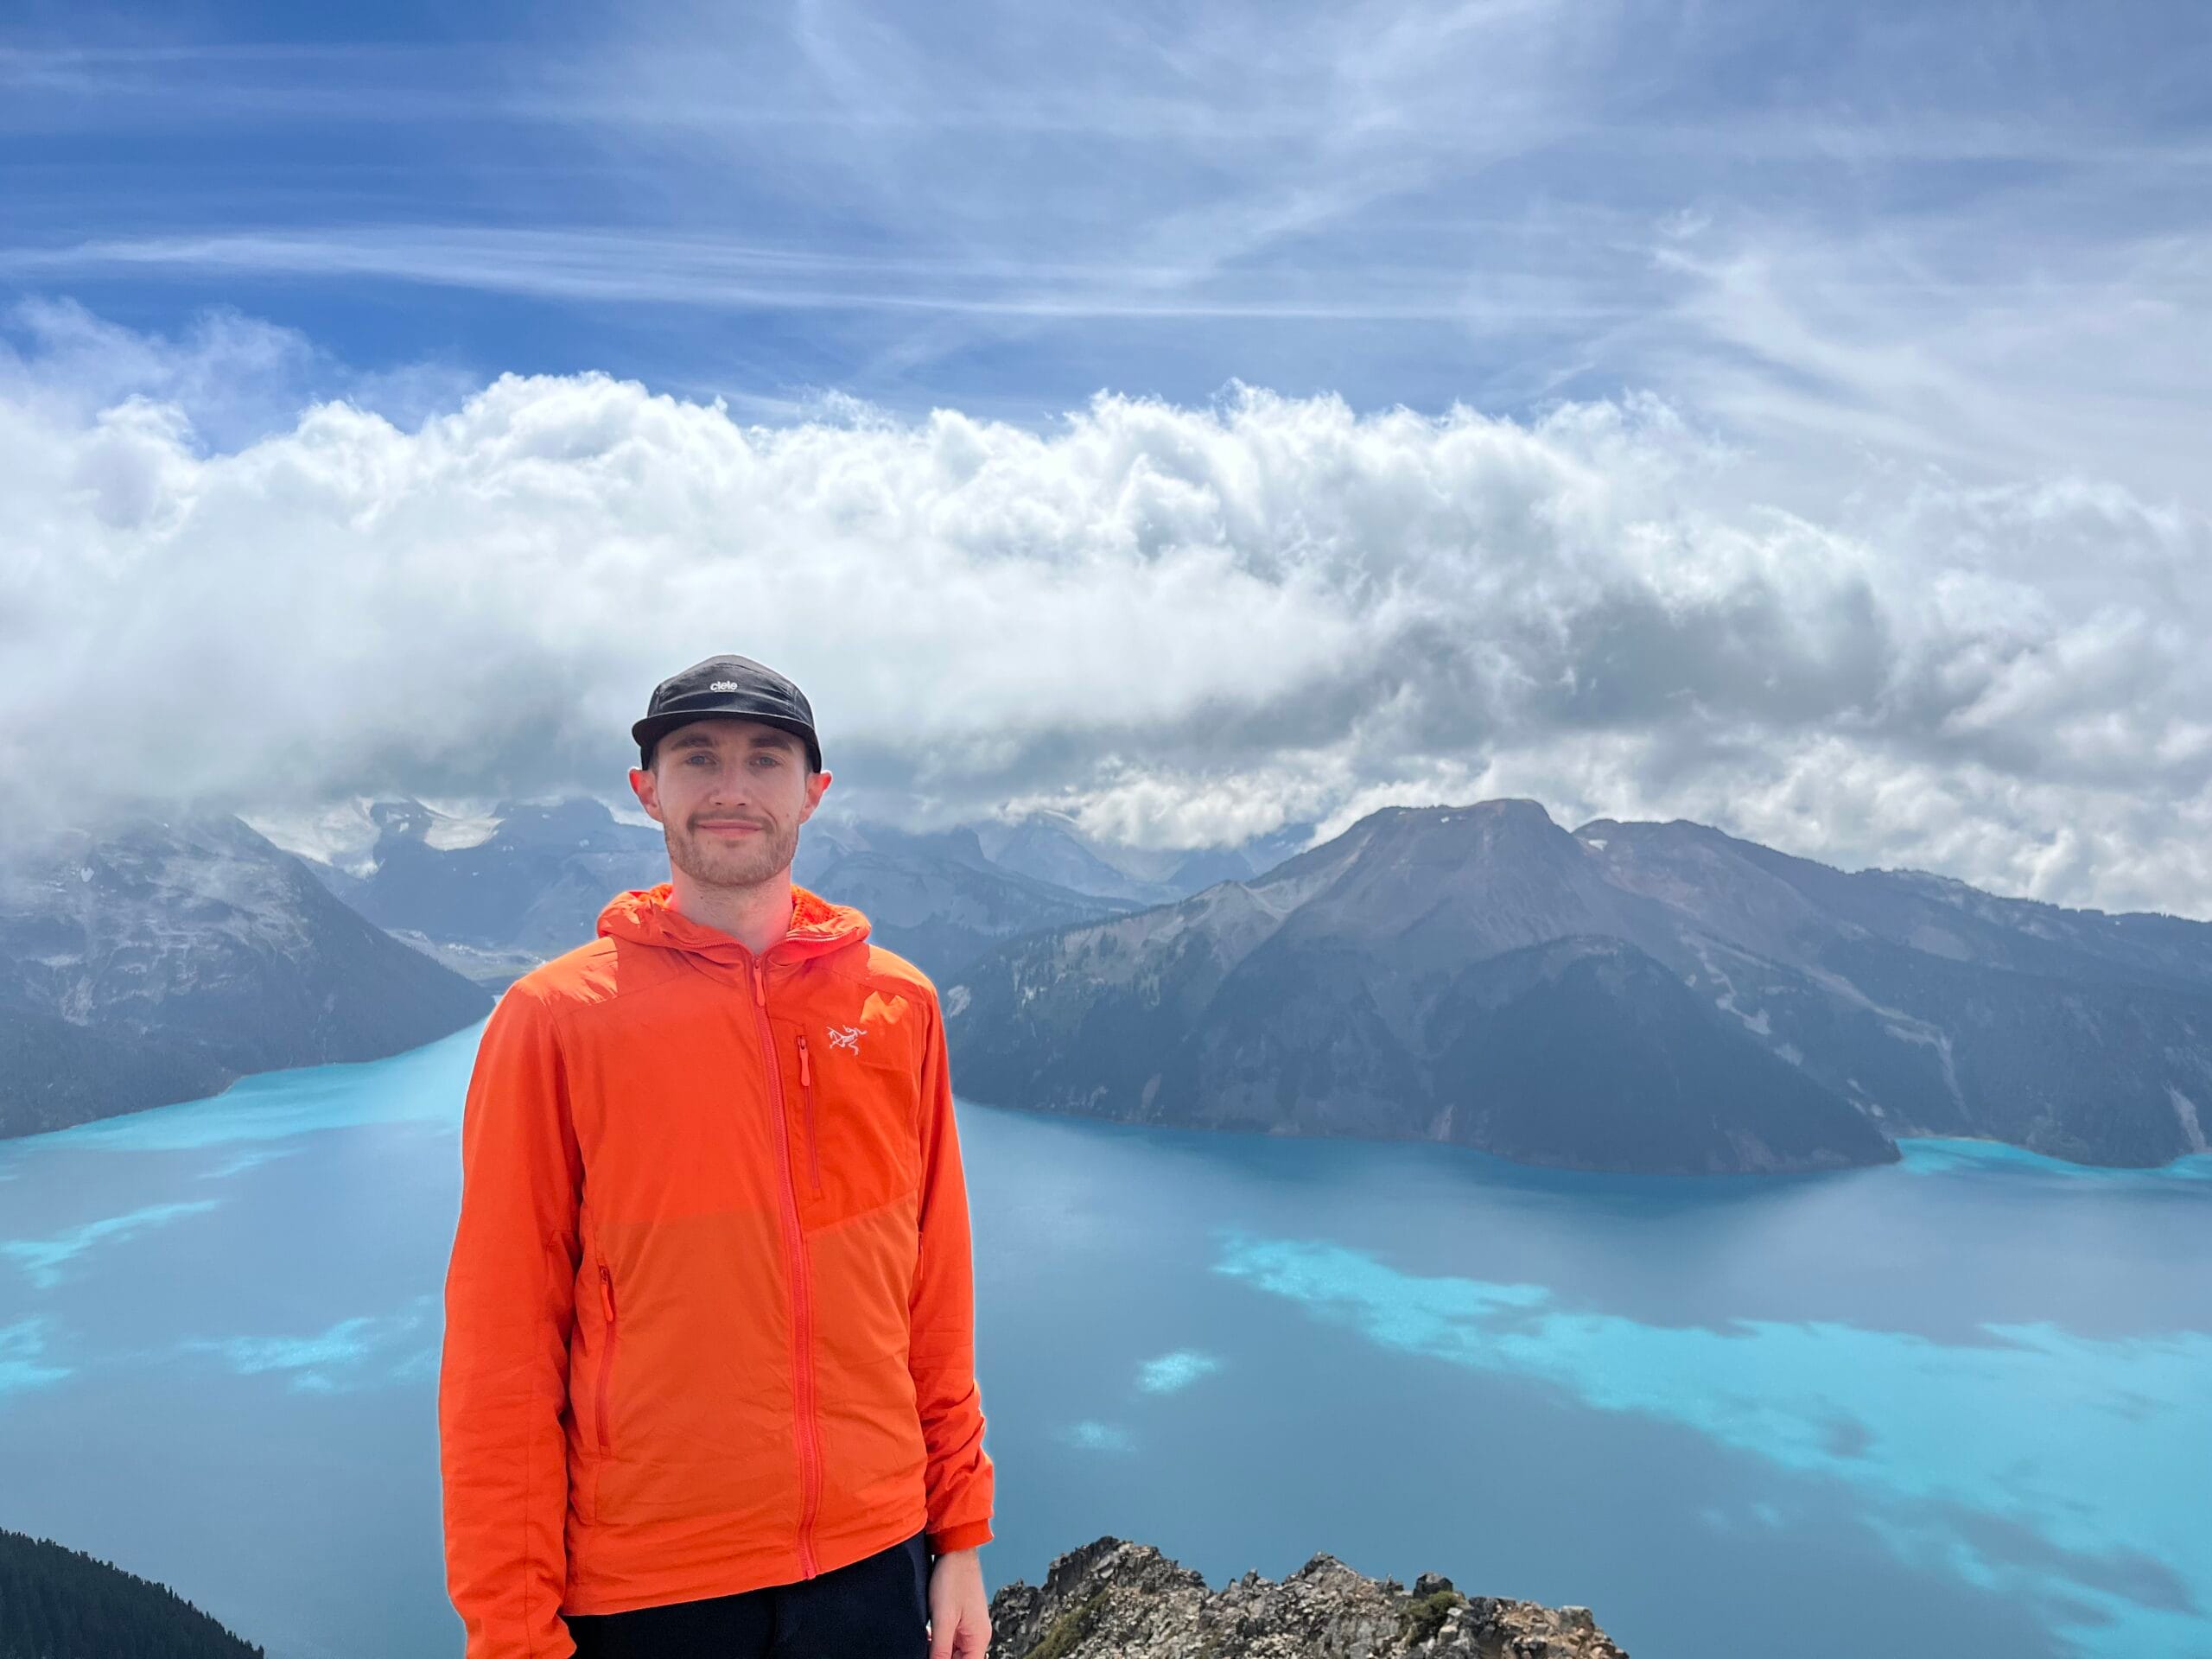

The Three IEC Categories
International Experience Canada has three main categories to consider based on your circumstances, age and experience desired. We chose the Working Holiday because this meant we weren’t contractually linked to a specific company or location in Canada. It would give us the freedom to find jobs once settled in Canada. The Pools (categories) allow you to place your single IEC profile (if eligible) into one or more pools based on your circumstances (Working Holiday and Young Professional, for example).
Working Holiday
The Working Holiday category is usually the most flexible IEC option because it is designed for people who want to travel and work in Canada. This route is popular with backpackers, ski season workers, hospitality workers and travellers who want freedom to move around the country. It also allows people to find full-time jobs to progress their career without needing sponsorship from their employer. In summary, this is an open work permit giving the best flexibility to make the most of your time in Canada.
Young Professionals
The Young Professionals category is usually for people with a job offer in Canada who want professional work experience related to their career. This is normally more structured than the Working Holiday route. This is for people who have a job offer that contributes to professional development, with the job being TEER 0-3 (see Canadian Government website for the breakdown of job tiers). The Employer must pay a compliance fee after the invitation to apply.
International Co-op
The International Co-op category is generally aimed at students who need a work placement or internship as part of their studies. You must have a job offer/placement before applying, and offers for the Visa are employer-sepcfici which makes moving when on the Visa nearly impossible.
Canada IEC Visa Application Process
Step 1: Check Your Eligibility
The first step is to check whether you are eligible for IEC based on your country of citizenship, age, passport and category. The Government of Canada says candidates create or sign in to an IRCC secure account and answer an eligibility questionnaire before creating an IEC profile. Once the profile is created, you get a reference code to keep safe.
Step 2: Create Your IEC Profile on IRCC Portal
If you are eligible, you can create and submit an IEC profile into one or more pools via the IRCC’s portal. The Government of Canada states that your first step is to create and submit your profile, then wait for an Invitation to Apply. When submitting your IEC profile, select the pools you are eligible for; the priority order for pool invitaion are Internship/Coop, Young Professionals and then Working Holiday. The information needed are persoanl detauls such as:
- Passport Detail
- Contact info
- Education & employment history
- Family Information Form
- Job Offer for Young pros/Internship pools
Most likely, you’ll receive an ITA for the highest priority first, which can be accepted or declined. The Pools open annually in the middle of December, with the first draws usually late Januuary/ ealry febreuauary. These take place either weekly or bi-weekly, with the number of ITAs sent out in each draw seen on the IEC website.
Step 3: Wait for an Invitation to Apply
After submitting your profile, you wait in the pool. IRCC regularly invites eligible applicants from IEC pools to apply for a work permit. You cannot submit the full work permit application unless you receive an Invitation to Apply. You’re profil will stay in the pools until you get an ITA, you become ineligible or the pools close for the season. You can’t resubmit until the next year/season.
Step 4: Accept the Invitation
If you receive an Invitation to Apply, you need to decide whether to accept it. After accepting, you must complete the full work permit application by the deadline shown in your IRCC account. Canada.ca states that applicants have exactly 20 days from the time they accept the Invitation to Apply to submit the work permit application.
Step 5: Complete the Work Permit Application
Once you accept the invitation, you complete the online forms in your IRCC account. The Government of Canada advises applicants to answer all questions truthfully, avoid gaps in work and education history, include paid and unpaid work, and validate online forms before submitting.
Step 6: Upload Documents
The system generates a personalised document checklist after you complete the application forms. This checklist shows which supporting documents you need to upload. Common supporting documents for immigration applications can include passport or travel documents, police certificates, maybe medical exams and proof of funds, depending on the program and your circumstances.
Step 7: Pay Fees and Give Biometrics
After completing the application, you pay the required fees and submit the application. Some applicants also need to give biometrics. The Government of Canada includes biometrics as part of the IEC work permit application process after submission. If you haven’t given biometrics recently, IRCC will send a biometric instruction letter after you apply. You generally have 30 days to give biometrics at a VAC. Typical fees for the Canada IEC Visa include:
- IEC processing fee (≈ CAD$185)
- Biometrics fee (~CAD$85 if required)
- Working Holiday open work permit holder fee (~CAD$100)
- Employer compliance fee (for Young Pro/Internship: CAD$230)
Canada IEC Visa Costs to Budget For
Approximate costs for a Canada IEC Working Holiday application, including application fees, biometrics, police certificate, proof of funds and health insurance. GBP conversions use an estimated rate of 1 CAD = £0.537.
| Cost Item | When / Why You Need It | Cost CAD | Approx. GBP |
|---|---|---|---|
| IEC Participation Fee | Paid after receiving an Invitation to Apply and submitting the IEC work permit application. | $184.75 | £99.21 |
| Open Work Permit Holder Fee | Required for Working Holiday applicants because the permit is open rather than employer-specific. | $100.00 | £53.70 |
| Biometrics Fee | Paid if biometrics are required for your IEC application. | $85.00 | £45.65 |
| Police Certificate | Varies by country. UK ACRO standard certificate example shown. | ~$121.04 | £65.00 |
| Health Insurance | Required for your stay in Canada. Cost varies by age, length of stay, coverage and provider. | ~$1,000.00 | ~£537.00 |
| Estimated Payable Costs | Approximate upfront spend excluding proof of funds and flights. | ~$1,490.79 | ~£800.56 |
| Proof of Funds | Money you must be able to show on arrival, not a fee. Canada requires the equivalent of CAN$2,500. | $2,500.00 | ~£1,342.50 |
| Total to Have Available | Estimated payable costs plus proof of funds. This does not include flights, accommodation deposits or setup costs after arrival. | ~$3,990.79 | ~£2,143.06 |
Important: Fees and requirements can change. Always check the official Government of Canada / IRCC website before applying. Proof of funds is not paid to the government, but you may be asked to show a recent bank statement on arrival. Health insurance must cover medical care, hospitalisation and repatriation for your intended stay.
Step 8: Wait for Approval
If your application is approved, you receive a Port of Entry letter of introduction, often called a POE letter or LOI. This processing time can take several weeks if the documentation is complete. This is not your actual work permit, but you need to bring the PoE Letter of Introduction to the border officer. You receive the work permit when you arrive in Canada, and the border services officer is satisfied that you meet the requirements.

Documents to Prepare Early
I would recommend preparing as much as possible before receiving an Invitation to Apply to make the Canada IEC Visa process as smooth as possible. Because the 20-day deadline can come around quickly and cannot be extended. Useful documents to prepare early include:
- Valid Passport
- Recent CV / résumé
- Work history & Education history
- Family Info form (IMM 5707) may be required
- Police certificate(s) from the UK or other residence countries
- Digital passport-style photo
- Proof of funds (often CAD ~$2,500))
- Travel health insurance
- Copies of previous travel or visa information
- Medical exam information, if required
- Young Professional: job offer letter + proof role is TEER 0–3
- International Co-op: internship offer + institution enrollment info
The exact document list depends on your personal application, and the IRCC system generates a personalised checklist after you complete the application forms.
Health Insurance and Proof of Funds
Health insurance is one of the most important IEC requirements. The Government of Canada says IEC participants must have health insurance for the entire time they are in Canada, and that insurance must cover medical care, hospitalisation and repatriation. You may be refused entry if you do not have valid insurance. [canada.ca], [ircc.canada.ca]
The length of your insurance matters. If your insurance is valid for less than your expected stay, your work permit may be issued only until the date your insurance expires, and you may not be able to extend it later. [canada.ca], [ircc.canada.ca]
You should also be ready to show proof of funds when entering Canada. Canada.ca states that IEC participants may be asked to show a recent bank statement proving they have enough money to support themselves for the first three months of their stay, equivalent to CAN$2,500.
What to Bring When You Arrive in Canada
When you arrive in Canada, a border services officer may ask to see several documents before issuing your work permit. Canada.ca lists documents such as your passport, Port of Entry letter, proof of health insurance, proof of funds, a departure ticket or enough funds to buy one, and copies of documents submitted in your work permit application. I would keep these documents in both digital and printed form in hand luggage with you. The highlighted bold ones are essential for a border officer to potentially see.
- Passport
- Port of Entry Letter of Introduction
- Proof of health insurance
- Proof of funds
- Travel insurance policy wording
- Return ticket or proof of funds for onward travel
- Police certificates, if used
- Application documents
- Accommodation details for your first few nights
- Emergency contact details
My Experience with the Canada IEC VISA
After visiting Canada a few years before, I was eager to sort the Canada IEC Visa out early and be super organised to set-up a enw lfie abroad. It had been a bucket list item to live abroad, and I was very excited to move to Vancouver with Roisin. The Process had many small steps and waiting for draws. Roisin was first drawn in first in early February and accepted the invitation to apply; this was when we applied for the Police Certificates.
I was drawn in the middle of February and accepted the invitation, then applied for my Police Certificate. Importantly, you can upload the request for a Police Certificate to progress the application and then upload the actual certificate when it has arrived. The next step was to fill out the family forms for the Canada IEC Visa and update our CV’s/ resumes for the application. We added the personal info and passport details to the IEC website before adding Employment information.
We uploaded the supporting documents and the Receipt of the police certificate. The next step was the only in-person appointment, so we headed down to London and had our Biometrics Appointment. Once we uploaded the Police certifcates, we received our Port of Entry Letters in mid-March, so we were officially heading to Canada! This was the best feeling when we both had the Canada IEC Visa Entry letters.

What else to arrange before flying to Canada
Once we had our Canada IEC Visa Port of Entry (PoE) letters, we started looking at dates for flights and giving our company notice of leaving. We booked our flights for May, which gave us around 6 weeks to prepare to move abroad. Phase 2 of our Canada IEC visa process started by getting the House packed and ready to rent out. We cleaned the flat and began the long process of deciding what clothes and items to bring to Canada, donate to charity or leave with our parents.
An important step was also researching the health insurance we needed for entry and the Canada IEC VISA. In the end, we chose True Traveller with a comprehensive package to include hiking and running, but no winter sports. This was the highest cost along with flights for the whole process. Next we booked an Airbnb in North Vancouver for 4 weeks as a base to find a longer term rental and explore Vancouver whilst working abroad for JLR. The farewell tour of friends and family started in the last few weeks. We ensured all of the important Canada IEC Visa documents mentioned were printed off and the suitcases, backpacks and duffel bags were ready.
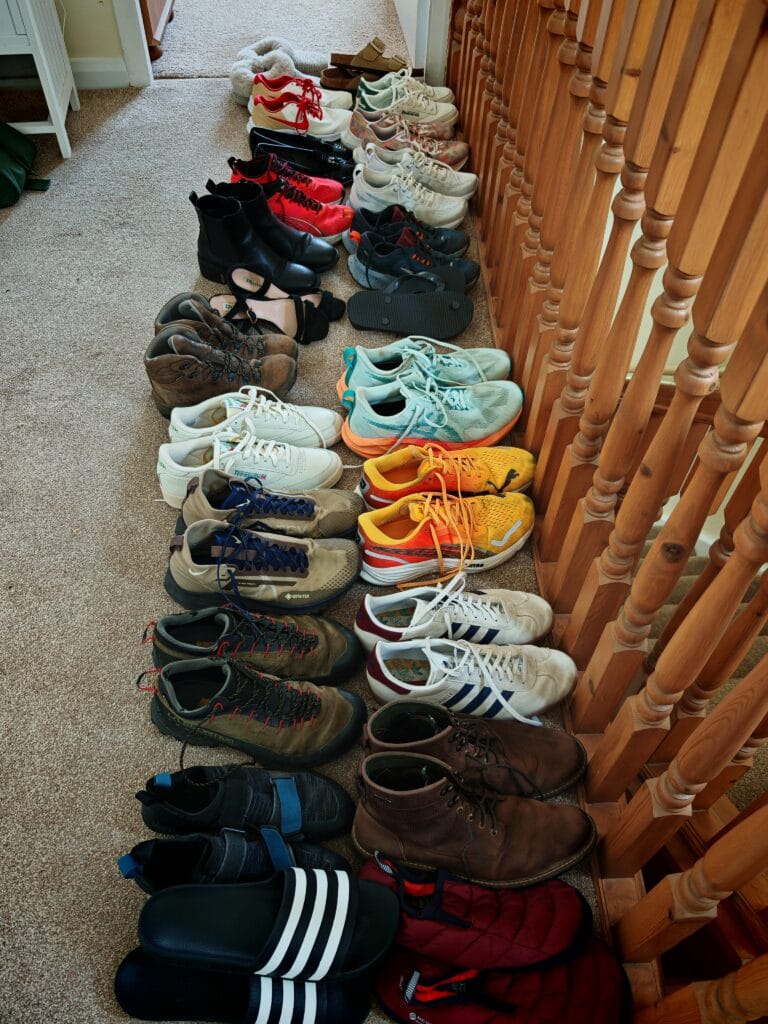
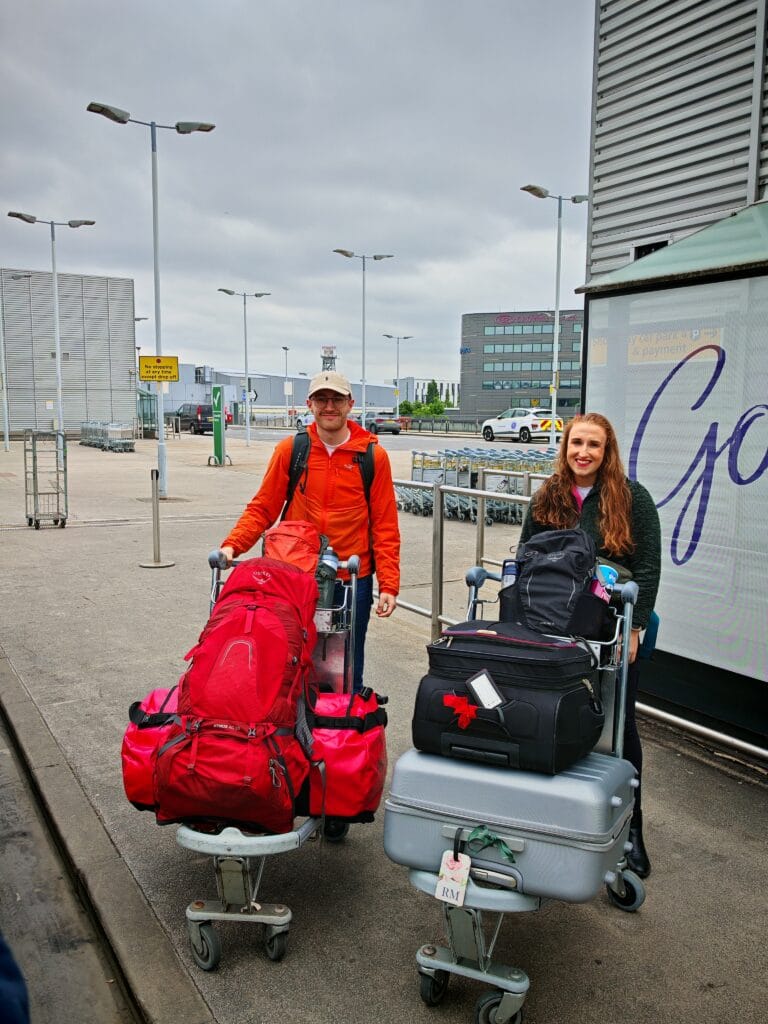
In the end we carried 2 23kg backpacks/suitcases each and 1 carry on bag to move our entire life to Canada. We had our bank statements ot hsow proof of funds ready and made sure the house was fully clean and empty to move. The decision was made to not ship any furniture or additional boxes over due to the high cost, so we opted to pay for additional hold bags for mainly our clothes, shoes and other essentials. We had last-minute panic as we found one of our bags was 10kg over the hold baggage weight limit.
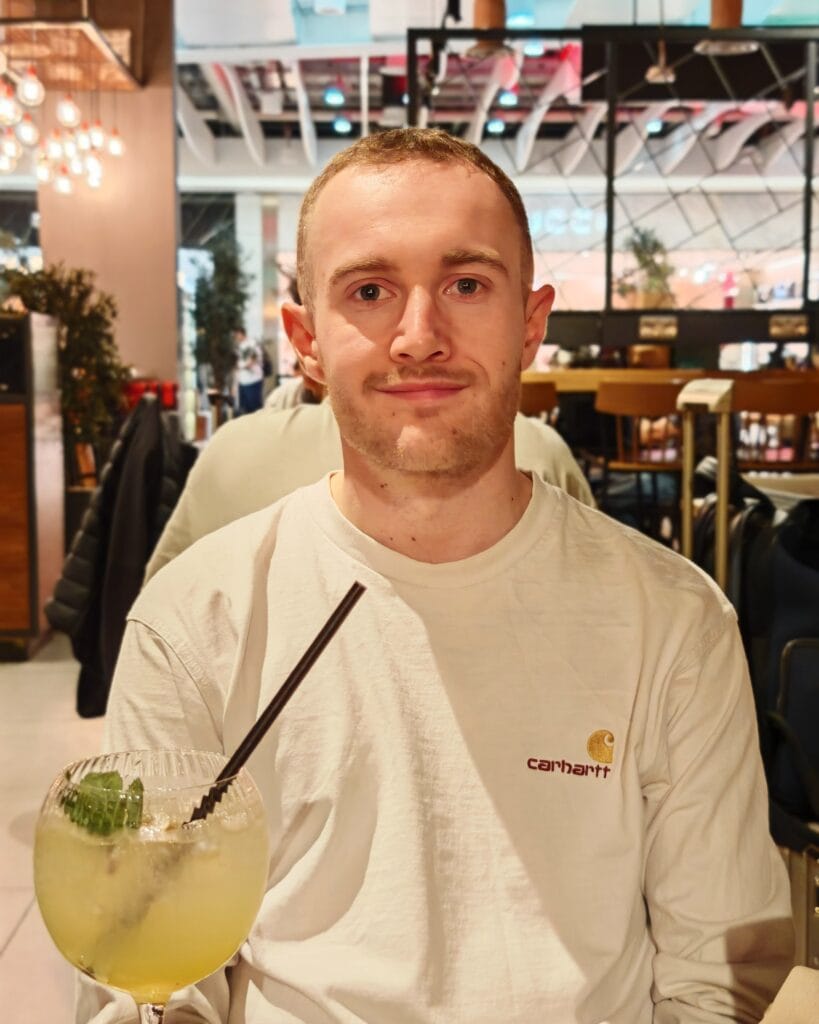
The fun began in sacrificing heavy items such as books and food; an hour later we were underweight. In total, 2 suitcases, a 50L backpack and a huge Duffel weighed under 100kg to move our whole lives abroad. The hardest part was the final weekend with both our parents in London. We enjoyed a final meal together and then said our goodbyes at Heathrow before starting our Canada IEC Visa adventure.
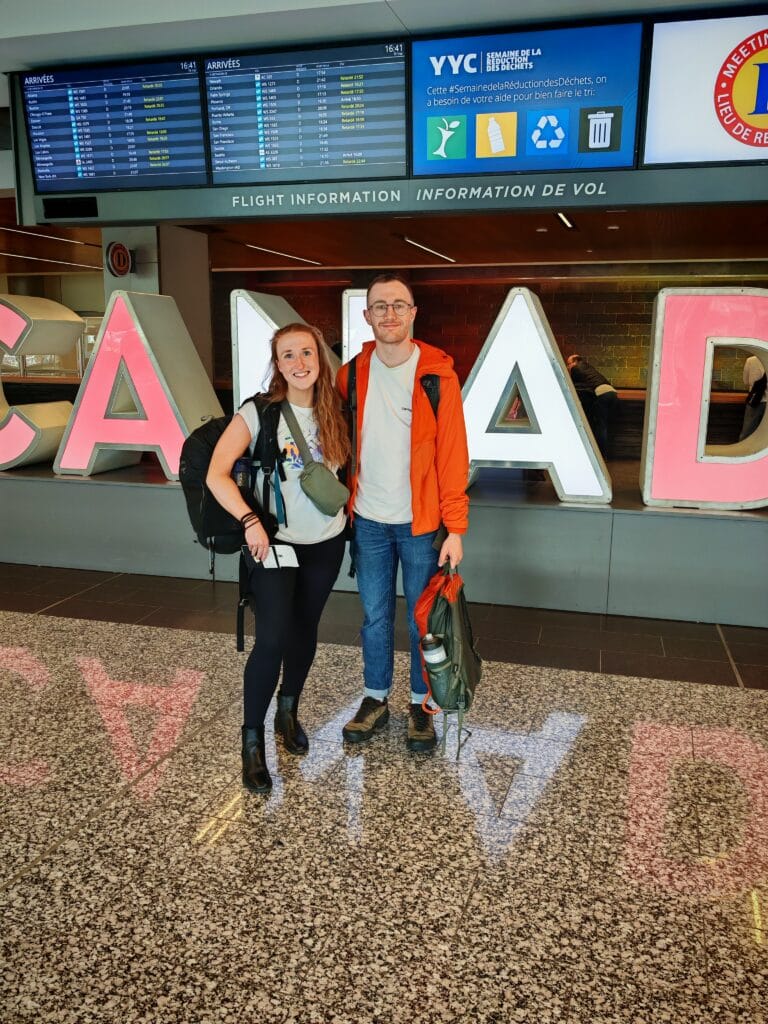
Arrival
We planned to fly into Calgary from Heathrow and then onto Vancouver to save money despite the long 4-hour layover. This did give us time to activate our Visa, which we were unsure about how long this would take. The week prior was spent checking we had all the required documentation to be granted our Working Visa at the border. First, we had to get an eTa declaration and talk to a border police officer before heading to the immigration office. Then we had a short wait to go through the process of being granted a Canadian IEC Visa.
20mins later, we got the good news that our 2-year open work permit was granted! After we re-entered security and had some time for food and drinks in Calgary Airport before our evening flight to Vancouver. The flight was 90mins and literally flew by as we rested up. The final point was hoping all our luggage had made it safely to Vancouver, which indeed it had. We were ready to finish our 22hour day of travelling and got an Uber to the Airbnb in North Vancouver.
My Practical IEC Tips
1. Do not wait until the last minute
The biggest pressure point for the Canada IEC Visa is the 20-day deadline after accepting an Invitation to Apply. Start collecting documents before you are invited so you are not scrambling at the last minute.
2. Keep your work and travel history organised
The application asks for detailed personal history. Keep a simple timeline of where you lived, worked, studied and travelled so you can fill in the forms consistently.
3. Check your passport expiry date
Your passport should be valid for the full period you want to stay in Canada. Passport validity can affect the length of the permit you receive.
4. Take health insurance seriously
Do not buy the cheapest policy without checking the details. Your Canada IEC visa health insurance must cover medical care, hospitalisation and repatriation for the entire time you plan to stay in Canada. If you want to do skiing or other extreme activities, check that your travel insurance covers this, as getting provincial health care coverage only begins after 6 months of residency.
5. Print your arrival documents
You may not have Wi-Fi, battery or signal when you arrive. Printed copies of your key documents make the airport process much less stressful.
6. Have proof of funds ready
Canada.ca says proof of funds should show you can support yourself for the first three months of your stay, equivalent to CAN$2,500.
7. Treat the Canada IEC visa as step one, not the whole move
Getting the Canada IEC Visa is only the beginning. You still need to think about flights, insurance, housing, employment, banking, phone plans, tax, transport and where you want to live.
Common Mistakes to Avoid
- Creating an IEC profile and assuming the visa is guaranteed
- Forgetting that you need an Invitation to Apply before submitting the work permit application
- Accepting an invitation before preparing documents
- Missing the 20-day deadline after accepting an Invitation to Apply
- Buying health insurance for less than the full intended stay
- Arriving without proof of funds
- Not printing important documents
- Forgetting that the POE letter is not the actual work permit
- Booking major life plans before understanding the process fully
- You can only have one IEC profile per season.
- If invited to a category you don’t want (like Young Professionals), you can decline — but the system may keep you in that pool first.
- If you don’t get invited, you must wait until the next season to apply again.
- It’s recommended to start the process early (before travel dates) because invitations and processing can take weeks to months
Summary
The Canada IEC Visa process can feel complicated at first, but it becomes much more manageable when you break it into stages. First, check your eligibility. Then create your IEC profile, wait for an Invitation to Apply, complete the work permit application, upload documents, pay fees, give biometrics if required and prepare properly for arrival in Canada.
The most important thing is to stay organised. The official Canada IEC Visa process has deadlines, especially after accepting an Invitation to Apply, and Canada.ca states that applicants have exactly 20 days from the time they accept an invitation to submit the full work permit application.
Before travelling, make sure you understand the arrival requirements. You may need to show your passport, Port of Entry letter, proof of health insurance, proof of funds, onward travel plans and copies of your application documents when you arrive in Canada.
For anyone dreaming of moving to Canada, the Canada IEC Visa is one of the most exciting routes available. It gives eligible travellers the chance to live, work and explore the country properly, whether that means a ski season, city life in Vancouver or Toronto, summer road trips, national parks or building a completely new chapter abroad.
Use the official Government of Canada website as your final source of truth, prepare documents early, and treat the application as the first step in a much bigger adventure.
FAQs
What is a Canada IEC Visa?
A Canada IEC Visa usually refers to a work permit through International Experience Canada, a program that allows eligible young people from partner countries to work and travel in Canada temporarily. IEC includes Working Holiday, Young Professionals and International Co-op categories.
How do you apply for a Canada IEC Visa?
To apply for a Canada IEC Visa, you check eligibility, create an IEC profile, enter the pool and wait for an Invitation to Apply. If invited, you complete the work permit application, upload documents, pay fees, submit the application and give biometrics if required.
Do you need an Invitation to Apply for IEC Canada?
Yes. Canada.ca states that you cannot apply for a work permit under International Experience Canada unless IRCC has sent you an Invitation to Apply. After accepting the invitation, you have exactly 20 days to submit the work permit application.
How much money do you need for the Canada IEC Visa?
When arriving in Canada, IEC participants may be asked to show proof that they have enough money to support themselves for the first three months of their stay, equivalent to CAN$2,500. The bank statement should be issued no more than one week before departure.
Do you need health insurance for International Experience Canada?
Yes. For the Canada IEC visa, you must have health insurance for your entire stay in Canada, covering medical care, hospitalisation and repatriation. You may be refused entry if you do not have valid insurance.